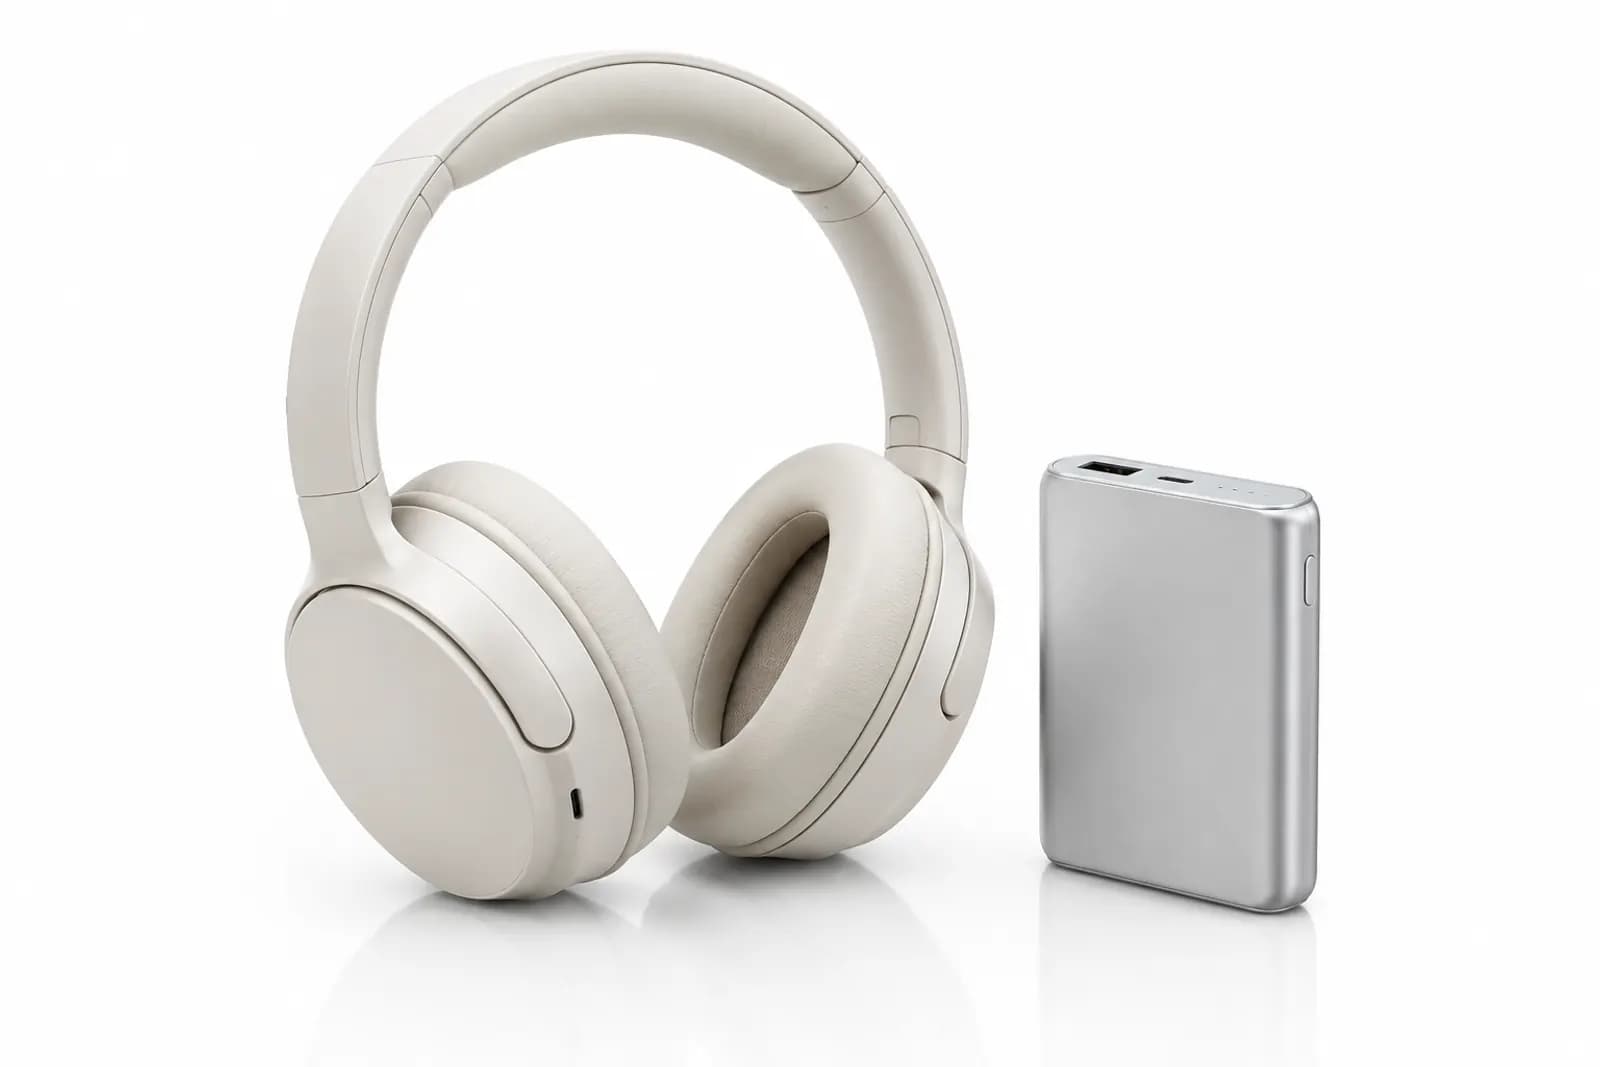
Preparing images for Temu's semi-managed model: a checklist from sample to upload
In the semi-managed model, sellers own product images and compliance details. Rejections and "doesn't match the product" queries usually trace back to preparation. Here's a four-stage checklist.
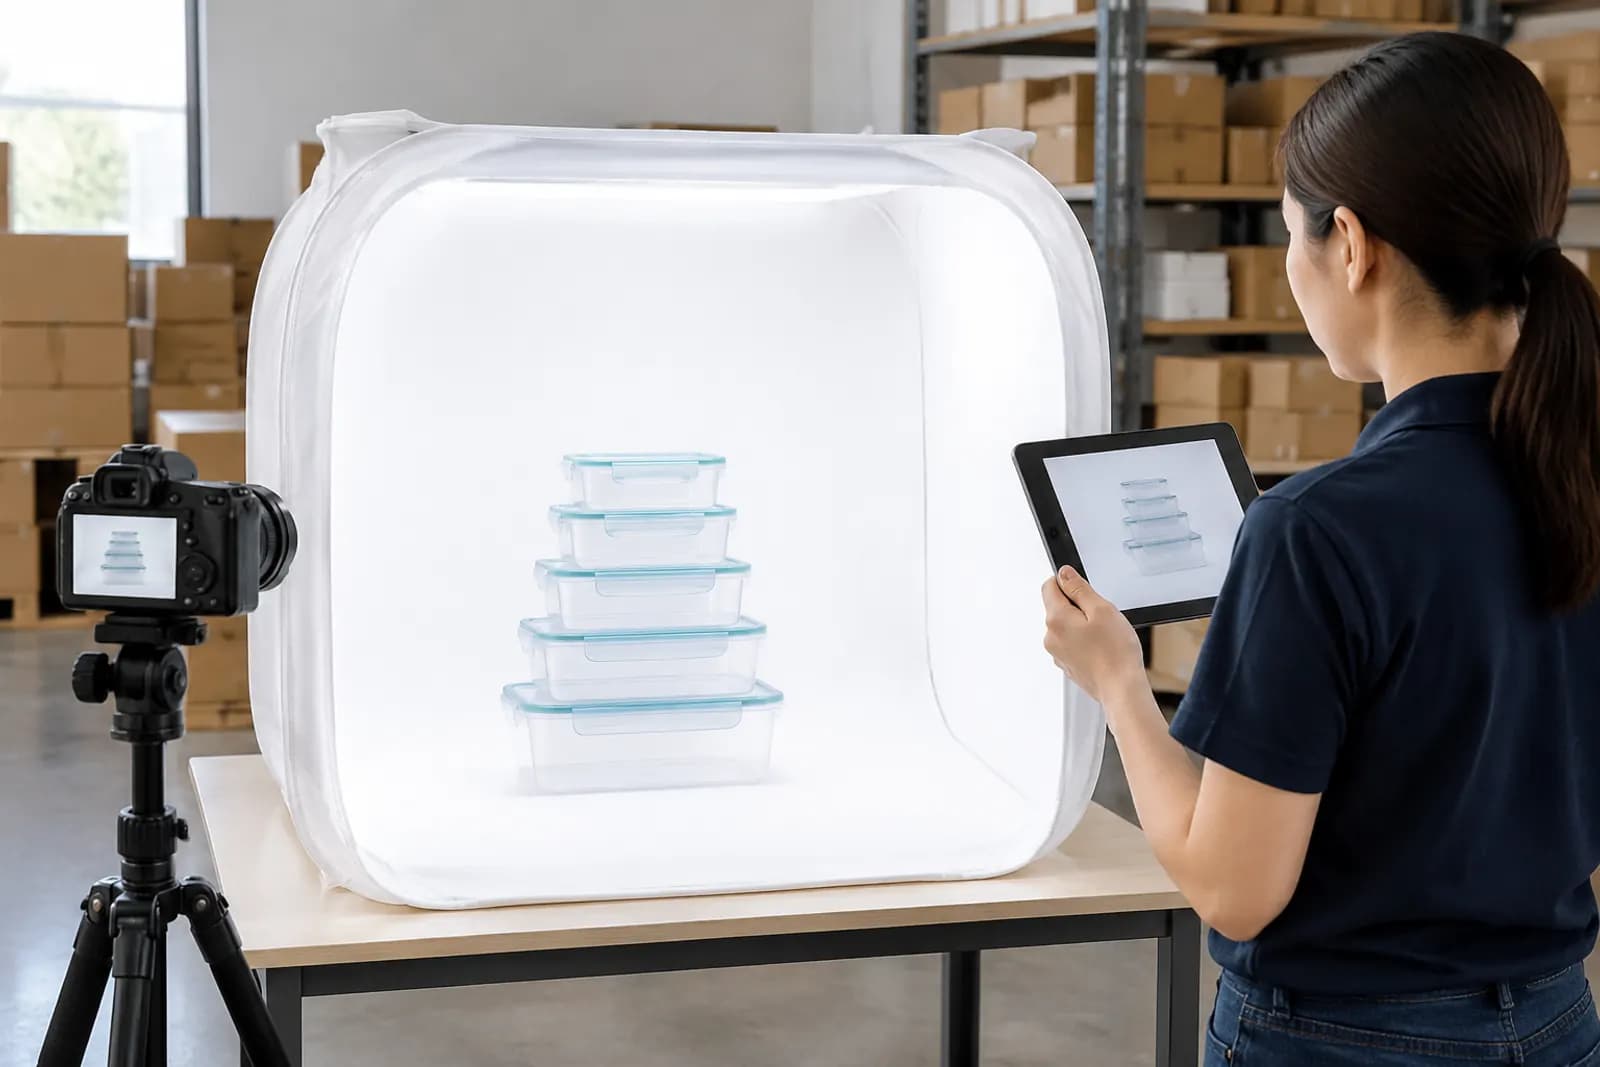
One of the biggest differences between Temu's semi-managed and fully managed models is how much sits with the seller: you hold stock in your own overseas warehouse, ship it yourself, and carry more responsibility for the accuracy of listing information and images. Sellers moving over from fully managed often see a high share of image rejections in their first batches. The causes are rarely complicated — usually a few steps skipped during preparation.
This article doesn't cover sourcing or pricing, only images and the compliance material tied to them. Exact sizes, image counts and file limits vary by category and site; the numbers below are what we commonly use, and the merchant centre's current guidance takes priority.
Step 1: inspect the sample before shooting
Many image problems are baked in before the camera comes out. When the sample arrives, check four things:
- Is it production stock? Colour, material and accessories must match what will actually ship. Shooting a pre-production sample and then receiving bulk stock in a slightly different shade is the classic mismatch.
- Are all accessories there? Photograph exactly what's in the box — no more, no less.
- Are labels in place? Product labels, packaging warnings and manufacturer details should already be printed.
- Any defects? Scratches, rough edges or marks — fix them or use another unit.
Step 2: the shot list
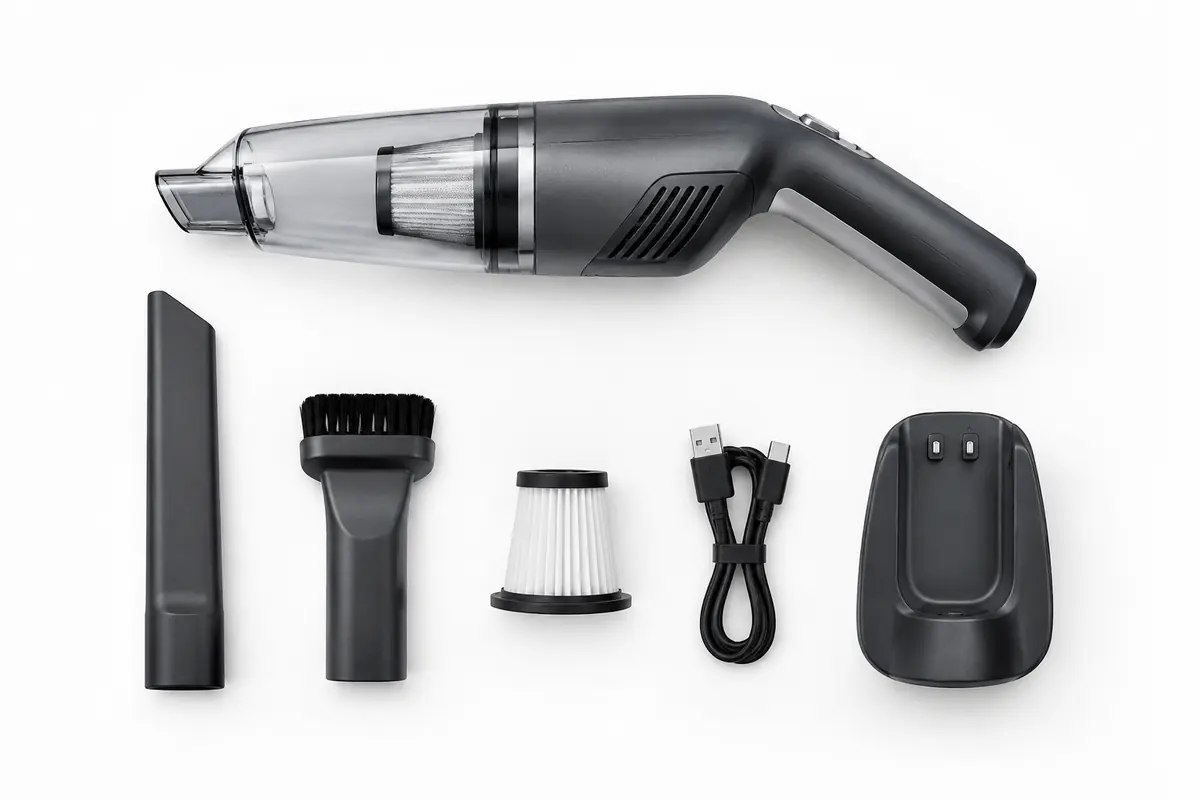
For a typical semi-managed product we prepare:
| Image | Content | Key point |
|---|---|---|
| Main | Whole product on white or light background | Centred, sharp, no props |
| Angles | Front, side, back | Same light and background |
| Detail | Material, ports, finish | Macro, true texture |
| Contents | Everything in the box | Quantities match the description |
| Size | Dimensions, capacity | Measured values only |
| In use | A real setting | No exaggerated results |
| Variant comparison | Differences between SKUs | Clear mapping of colour, size, capacity |
We generally use 1:1, and 3:4 portrait for apparel. Aim for at least 800px on the long side; 1200–1600px is safer. Keep each file within the size the back end allows.
Step 3: compliance photos
Unlike ordinary product images, some categories and sites ask semi-managed sellers for photos that let compliance information be verified, such as:
- Product labels, with manufacturer name, address, model or batch number legible;
- Packaging, showing warnings, age guidance and recycling marks;
- Conformity marks on the product itself, such as CE or UKCA where they apply.
For EU sales, the General Product Safety Regulation (GPSR) requires manufacturer and safety information to be shown online — we cover it in EU GPSR and listing images. These photos don't need to be attractive. They need to be sharp, legible and untouched — no compositing or editing.
Step 4: map every SKU
Multi-variant products are where mistakes cluster:
- Each SKU needs its own main image in its real colour — don't recolour one photo;
- SKU names and images must correspond: "dark grey" and "charcoal" should look different;
- Give sizing its own chart image, with measured values;
- For bundle SKUs, show each combination laid flat so it's clear what's included.
A simple safeguard is a SKU-to-image sheet: one row per SKU listing the main and secondary file names and a description of the real colour. Check it row by row before uploading.
Step 5: pre-upload QA
| Check | Standard |
|---|---|
| Consistency | Colour, accessories and quantity match title and attributes |
| No exaggeration | No unprovable "best" or "#1" claims |
| No infringement | No other brands' logos, characters or copyrighted designs |
| No off-platform info | No URLs, QR codes or contact details |
| Accurate size | Size chart values match attribute fields |
| Sharpness | No visible blur or compression at 100% |
| Legible labels | Text in compliance photos is readable |
Common rejection reasons
From our own experience and other sellers', the usual reasons semi-managed images get rejected or flagged:
- Supplier photos carrying another shop's watermark or text;
- Cluttered main image backgrounds, or a product that's too small;
- Several SKUs sharing one image so buyers can't tell them apart;
- Accessories shown that don't ship with the product;
- Blurry label photos with unreadable manufacturer details;
- Obvious differences between the pictured product and the real sample.
Speeding things up
Semi-managed catalogues get large, and retouching image by image is slow. Split the work: after shooting, batch the main images through AI cutout for white backgrounds; tidy angles and details with Retouch for blemishes and colour; draft lifestyle images with AI generation.
Two kinds of image should never be generated or altered: compliance label and packaging photos, and detail shots that prove colour and material. Their value is that they're real — and that's exactly what the platform is checking.
Upload one product photo and get a full set of listing-ready visuals in minutes.
Keep reading
Amazon main and additional image requirements: white background, fill ratio and size
Read article