Photographing packaging and unboxing: which packaging is worth it, and how to avoid looking cheap
Packaging shots often fill the last slot, but for gifts, beauty and electronics the unboxing itself is a selling point. Here's which products deserve packaging photos, how to sequence unboxing images, flat-lay technique, and the risk of showing packaging you don't ship.
In many main image sets, the packaging shot is the last image and the least considered: the box put on a table and snapped, or the factory's packaging artwork reused.
For some categories, though, packaging and unboxing are part of the decision. Gift buyers want to know whether it's presentable. Electronics buyers want to know whether all the accessories are there. Skincare set buyers want to know how many items they get. A thoughtfully shot set of packaging and unboxing images answers questions the detail page text can't.
Which products deserve packaging shots
| Category | What packaging shots do | Focus |
|---|---|---|
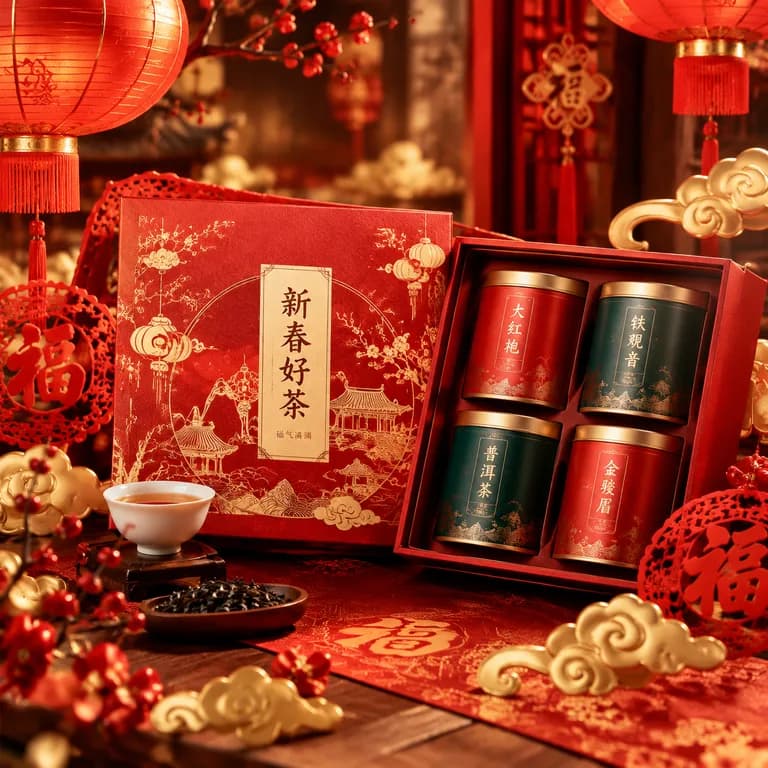
| Gifts and gift boxes | Prove it's presentable | Overall finish, the ritual of opening |
| Beauty sets | Show what's included | Clear contents, readable sizes |
| Electronics, small appliances | Show accessories are complete | Every accessory laid out |
| Food gift boxes | Show quantity and variety | The interior once opened |
| Everyday goods | Limited | One front-of-pack shot is enough |
If you sell in the first four, packaging and unboxing deserve two or three image slots.
Unboxing: shoot in opening order
Unboxing images work best in the order a buyer actually opens the box. Three steps:
- The closed package — the whole box, its finish and design;
- The moment of opening — lid half off, or the first layer of tissue lifted, revealing part of the inside;
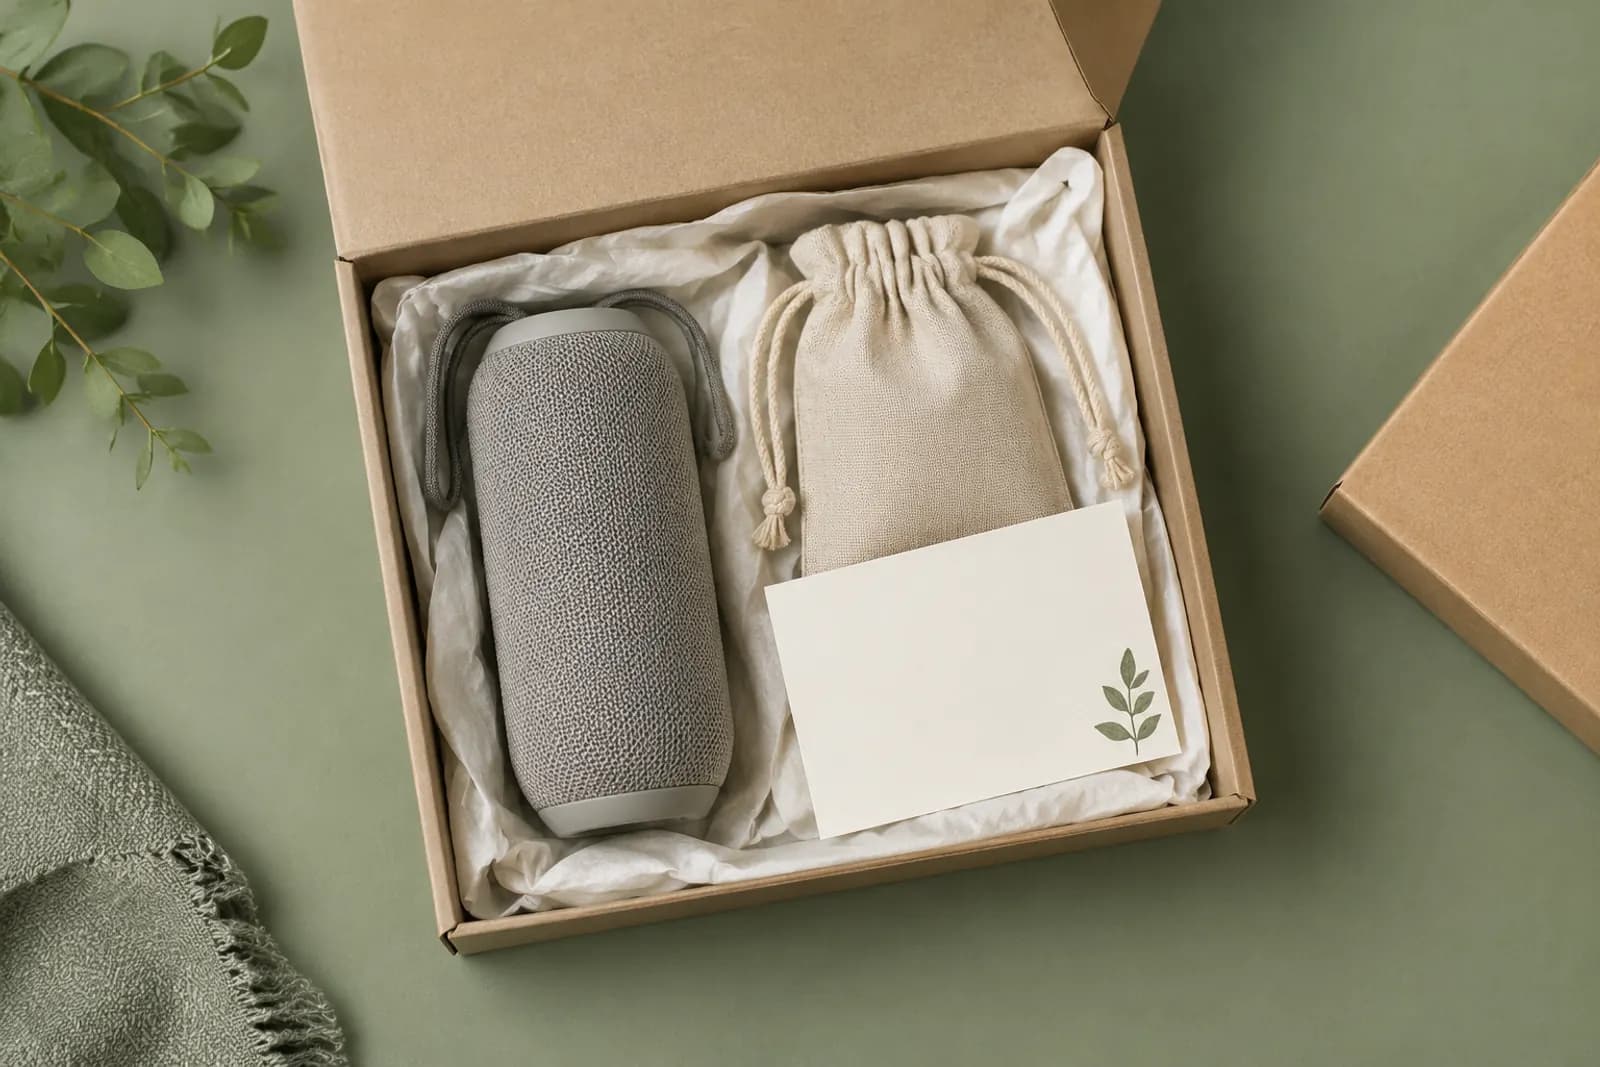
- Fully open — everything visible, each item in its place.
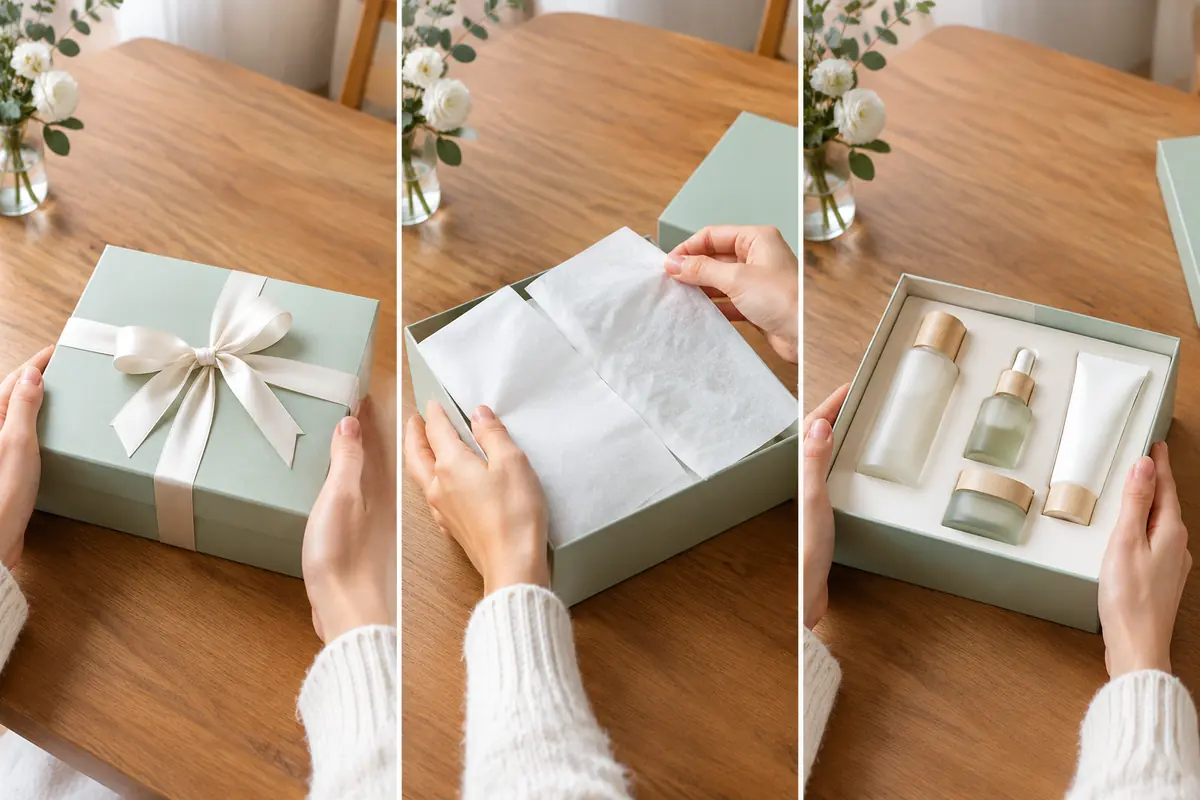
These can be combined into one triptych or used as a section of the detail page. Hands add realism, but they should be clean, with tidy nails and natural movement.
Flat lays: what's in the box
After opening, the most useful image is a flat lay of the contents: everything taken out and arranged neatly, shot from above.
- Order by size — the main product central or most prominent, accessories arranged by size;
- Even spacing — consistent gaps look orderly;
- Same orientation for similar items;
- Show everything — every item in the box, and nothing that isn't;
- Match quantities — lay out every duplicate accessory, or note the count.
The most common flat-lay mistake is adding things: decorative flowers or extra accessories that make the image prettier but aren't in the box. Buyers notice what's missing, and it ends in bad reviews and refunds.
Lighting different packaging
- Kraft and matte card — soft side light brings out paper texture;
- Glossy boxes and foil stamping — reflective; use soft light and adjust angles so foil shines without blowing out;
- Clear packaging — keep backgrounds clean so nothing messy shows through;
- White packaging — place on light grey or warm tones rather than pure white to keep the outline.
Details that stop packaging looking cheap
- Pristine packaging — no creases, marks or wear; keep a dedicated "photo sample";
- A fitting surface — marble, wood or dark fabric for premium boxes, simple light backgrounds for everyday packs;
- Few props — one or two that suit the brand, such as a dried flower stem or a linen cloth;
- Sharp focus on brand names and text;
- Steady angles — truly top-down or a steady 45°, never slightly crooked.
Packaging shown must match packaging shipped
This deserves its own section: packaging images must show the packaging you actually ship. Common risks:
- A beautiful gift box in the photo, a plain carton in the post (with the gift box sold separately) — say so clearly in the image or title;
- Packaging redesigned but images not updated;
- Packaging varies between batches and images show only one version.
Platforms have clear rules on "not as described", and packaging differences can trigger disputes.
Shipping packaging?
Outer cartons and mailer bags usually don't belong in main images, with two exceptions:
- Fragile items — showing protective packing reassures buyers;
- Large items — showing carton dimensions helps buyers judge whether it fits through the door.
If you show shipping packaging, it too must match reality. For presenting size and weight, see dimension images that reduce returns.
Working faster
Flat lays demand careful arrangement. Shoot once, then use AI erase to clean up dust and stray objects on the surface. For unboxing scenes, AI generation can shift the background mood toward a holiday or gifting setting, while the packaging and contents stay exactly as photographed. For food gift boxes, see food product photography.
Upload one product photo and get a full set of listing-ready visuals in minutes.
Keep reading