Natural-light photography for handmade shops: a window, a white board and a phone
Handmade ceramics, leather, knitting and jewellery sell on their handmade character, which standard studio lighting flattens. Here's how small makers can use window light: when and where to shoot, simple reflectors and diffusers, and how to sequence a set.
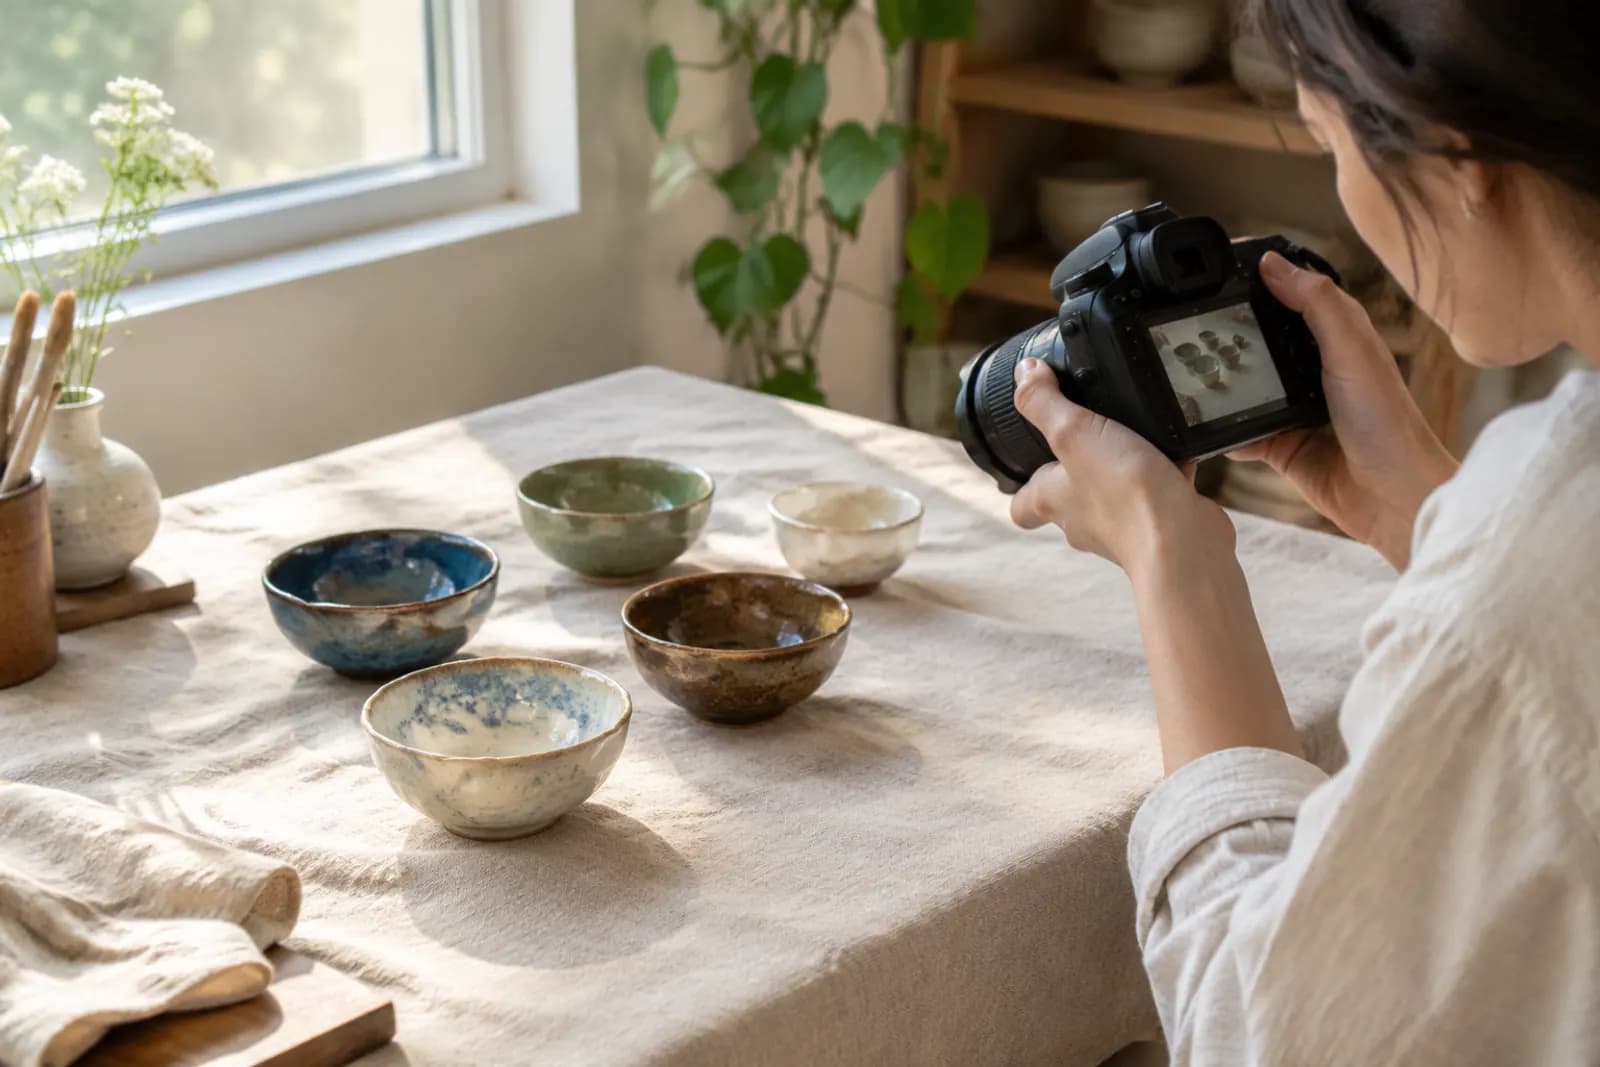
Most makers running small shops don't have a studio and don't want to hire a photographer. The good news: handmade products are particularly well suited to natural light.
Glaze variation on ceramics, grain in hand-stitched leather, stitches in knitwear, wood grain in woodwork — that handmade character needs soft, directional light. Standard studio lighting from all sides flattens those details, and the piece starts to look mass-produced.
A window, a white foam board and a phone are enough to take very good photos of handmade work.
Find your good window
Not every window works. A good one:
- Has no direct sun — direct sunlight is harsh, with hard shadows and highlights. North-facing windows (in the northern hemisphere) give the steadiest light; with other windows, shoot when the sun isn't coming in;
- Is large — bigger windows give softer, broader light;
- Has a clear view — buildings opposite darken and tint the light.
If your only window gets direct sun, hang a sheer white curtain or tape tracing paper over the glass to diffuse it.
Placement: side light shows texture
Put the piece beside the window so light falls from the side — the best way to reveal texture:
| Light direction | Effect | Suits |
|---|---|---|
| Side (window left or right) | Clear texture, strong form | Glaze, leather, wood grain, knitting |
| Side-back (window behind at an angle) | Bright edges, translucency | Glass, translucent materials, food |
| Front (window behind the camera) | Flat, bright, little detail | Usually not recommended |
The closer to the window, the brighter and more contrasty; the further away, the softer. Move back and forth to find the sweet spot.
A white board: the cheapest fill light
Side light leaves the far side darker. Stand a white foam board (from any stationery shop) on the other side to bounce window light back and lift the shadows.
- Closer board, more fill;
- For moodier, higher-contrast images, move it away or remove it;
- To deepen shadows — for dark, textured pottery — use a black board instead.
Surfaces and backgrounds
Simple beats busy:
- Surface — linen, old boards, slate or kraft paper, chosen to suit the work;
- Background — a white or pale wall, or let it fall out of focus;
- Consistency — stick to two or three surfaces and backgrounds across the shop.
Phone settings
- Flash off;
- Portrait or wide-aperture modes — check edges; irregular handmade shapes can be blurred by mistake;
- Tap to focus on the most important detail, such as where the glaze shifts most;
- Lower exposure slightly — phones often overexpose; pulling back keeps highlight detail;
- Clean the lens — the step everyone forgets; fingerprints haze the whole image.
A five-image set
For a handmade ceramic bowl:
- Front view in side light, showing form and glaze;
- Top view showing the inside;
- Detail — glaze flow, crackle, maker's marks;
- In hand for scale;
- In use — filled with food on a dining table.
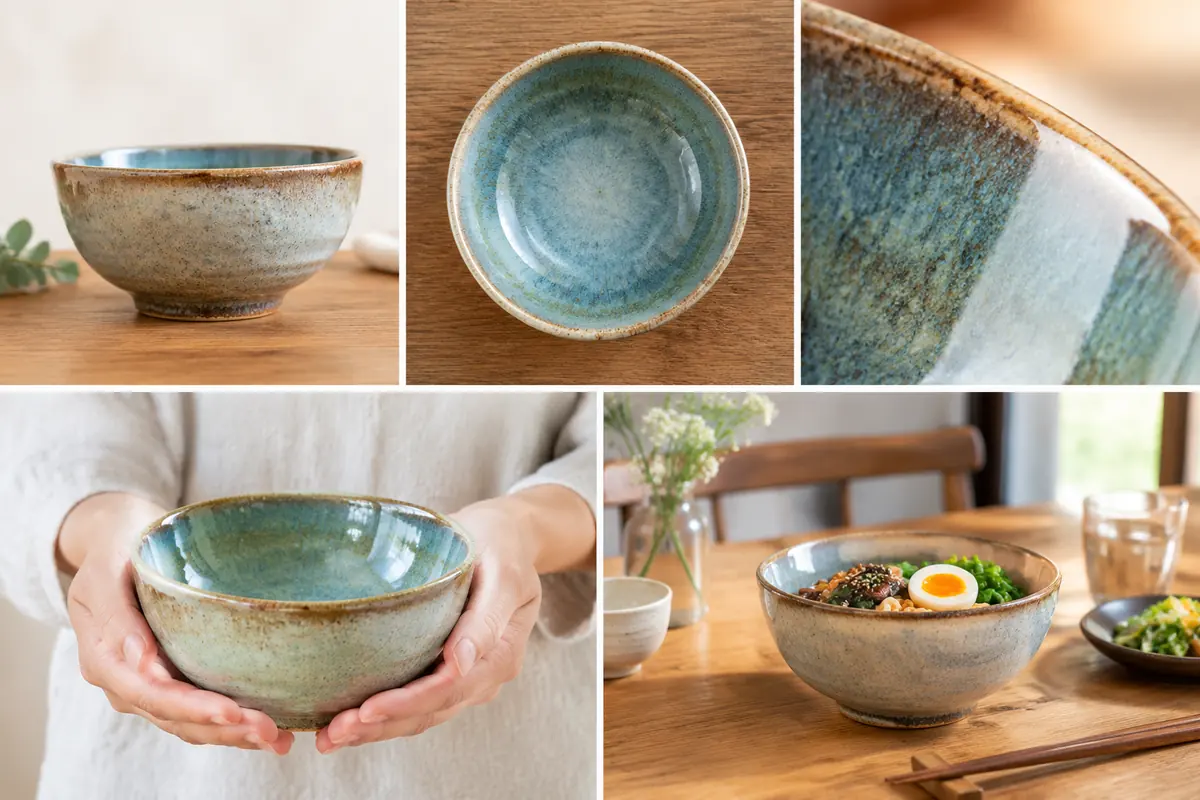
When to shoot
Natural light changes through the day. Mornings and afternoons give lower, softer light — the best time to shoot. Avoid harsh midday sun if it comes straight in. Overcast days turn the sky into a giant softbox, perfect for handmade work, though you may need a tripod or something to steady the phone. Evening light is warm and atmospheric but poor for accurate colour. Shoot each set in one session so light stays consistent.
Explain variation
Every handmade piece differs a little in glaze, texture and size. That's part of the appeal — and a common source of disputes:
- Say it clearly — "handmade; glaze and texture vary slightly between pieces";
- Show the range — photograph several pieces of the same design together;
- One-of-a-kind pieces — photograph each individually so buyers get exactly what they see.
Restrained editing
Editing handmade work should restore, not beautify:
- Correct white balance so whites are white;
- Adjust brightness and contrast moderately;
- Remove dust and clutter from the surface;
- Don't change glaze or material colours, and don't smooth away handmade marks.
Retouch can handle blemishes and colour; select only what you need and add "keep handmade texture, don't change glaze colour" to the requirements.
AI for scenes
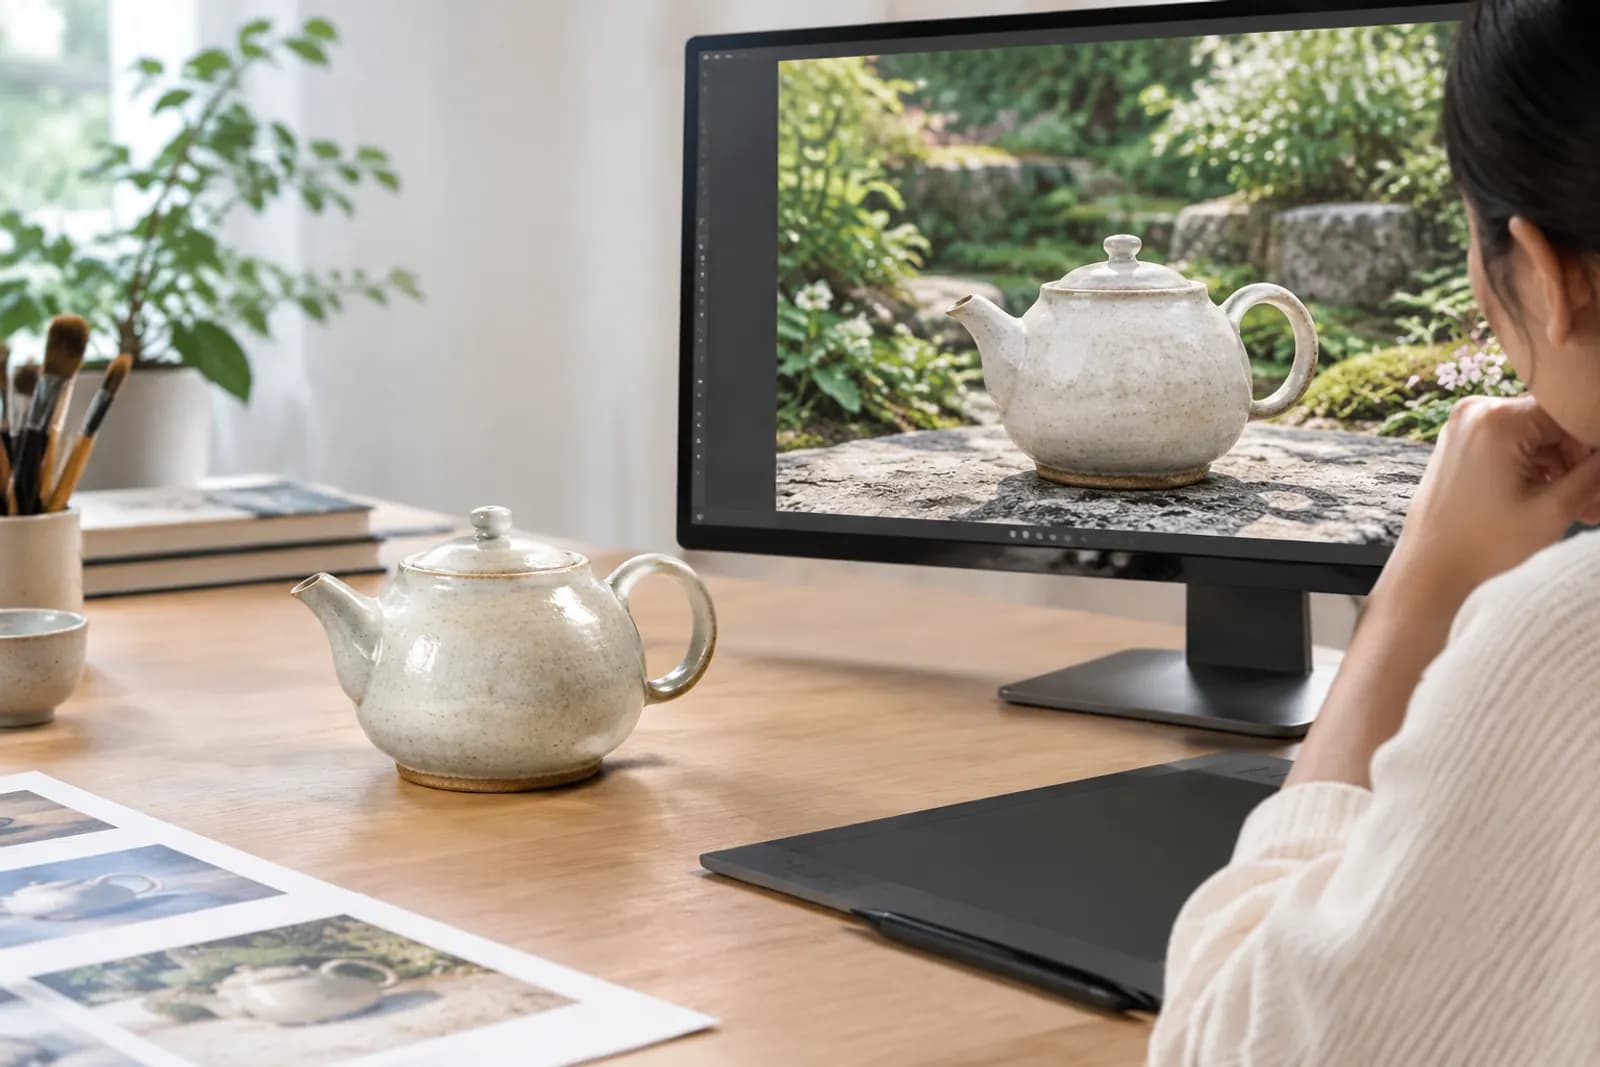
Small makers rarely have space for many settings. Photograph the piece itself as above, then use AI generation to place it in different everyday scenes. Detail is where handmade value lies, so keep detail shots real and use generated images only for setting. If you share work on Xiaohongshu, see Xiaohongshu note covers.
Upload one product photo and get a full set of listing-ready visuals in minutes.
Keep reading