White-background images for 200 SKUs: a batch workflow from shoot to AI cutout and QA
Launching 200 SKUs at once makes white-background images the most basic and most time-consuming job. Here's a complete workflow: shooting for clean cutouts, choosing AI cutout settings, which products need manual review, and naming and spot-checks.
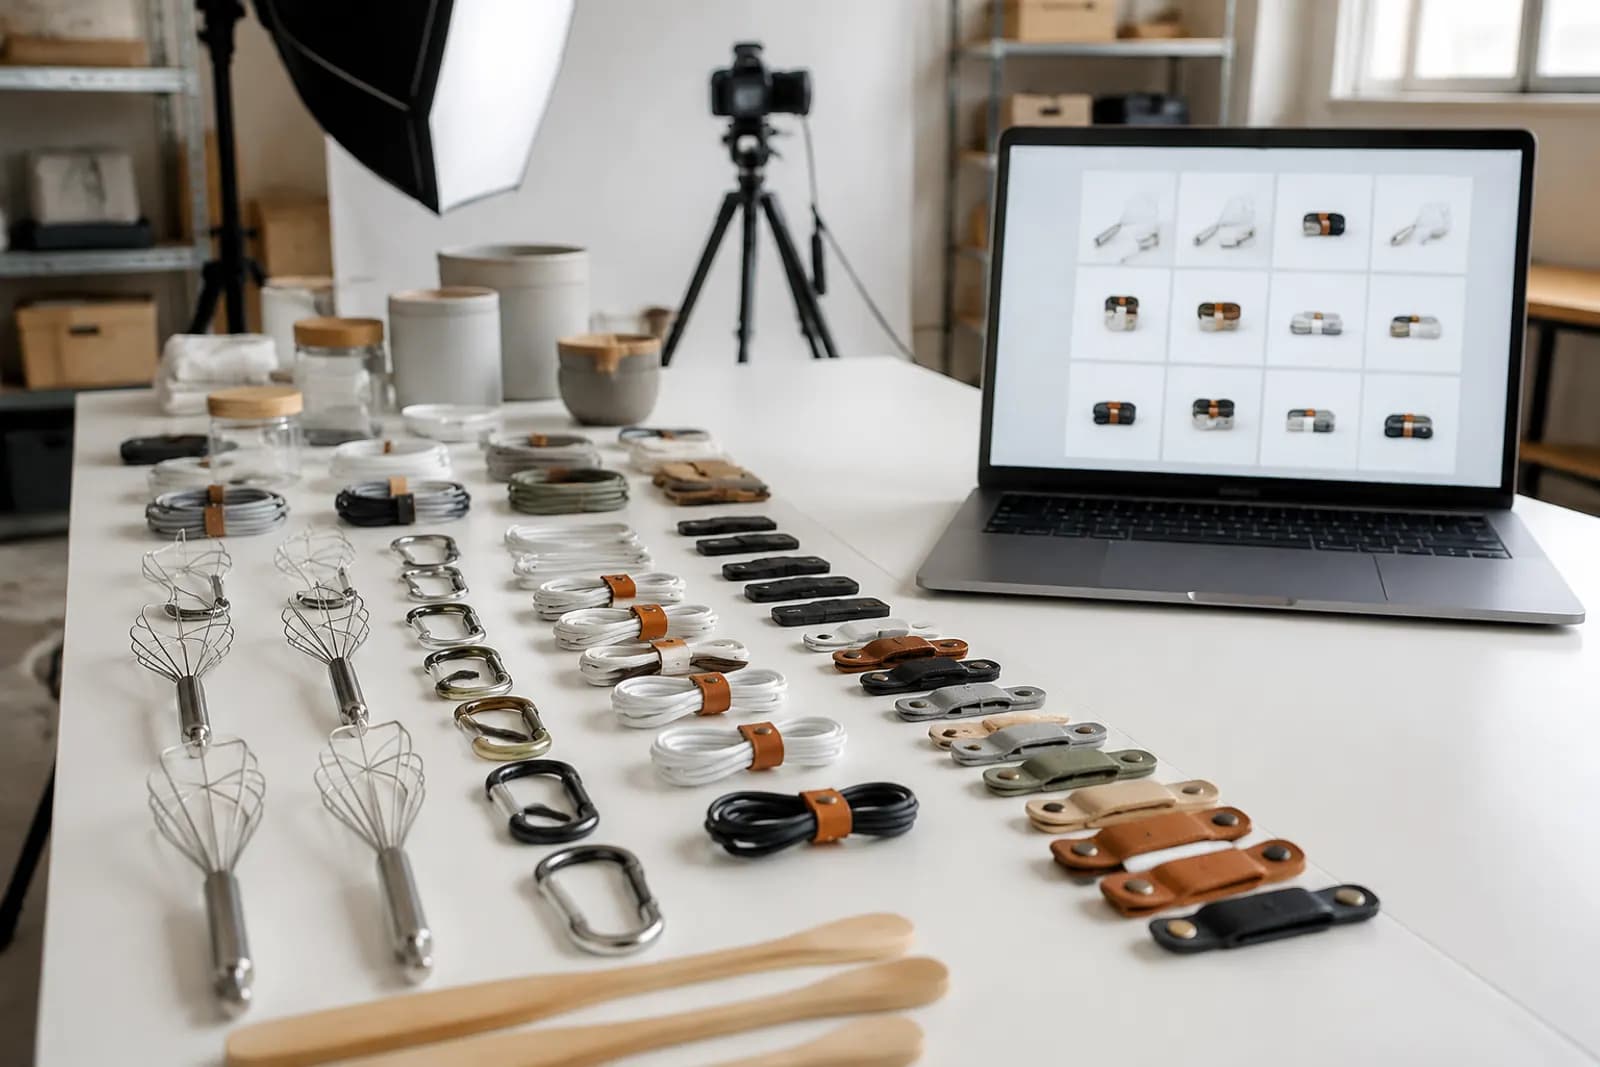
Sellers of small goods, hardware and household items know that launching dozens or hundreds of SKUs at once is normal. Every SKU needs at least one white-background image, some platforms want several angles, and cutting them out one by one in an editor means even a fast designer manages a few dozen a day — fewer with tricky edges.
Using a batch of 200 kitchen tools as the example, this is the workflow we actually use. The idea: prepare for cutouts during the shoot, let AI do the cutting, and spend human effort on review and difficult products.
Step 1: shoot for the cutout
Cutout quality is capped at the shoot:
- Contrast product and background — mid-grey for light products, light backgrounds for dark ones. Avoid shooting white products on white paper; the edges disappear.
- Even light — two soft lights from either side to reduce hard shadows. Heavy shadows get mistaken for part of the product.
- Fixed camera — same position and focal length for the whole batch, so products appear at the same size and angle.
- One product per frame with room around it.
- Sharp focus — blurry edges are hard to cut cleanly, AI or not.
Step 2: group by difficulty
Don't throw all 200 in at once. Group by how hard they are to cut out:
| Group | Characteristics | Handling |
|---|---|---|
| A: easy | Clear outline, opaque, matte | Batch process, spot-check |
| B: medium | Openings, thin wires, complex outlines | Batch process, check every edge |
| C: hard | Transparent, translucent, fluffy, mirror-like | Process individually, retouch by hand if needed |
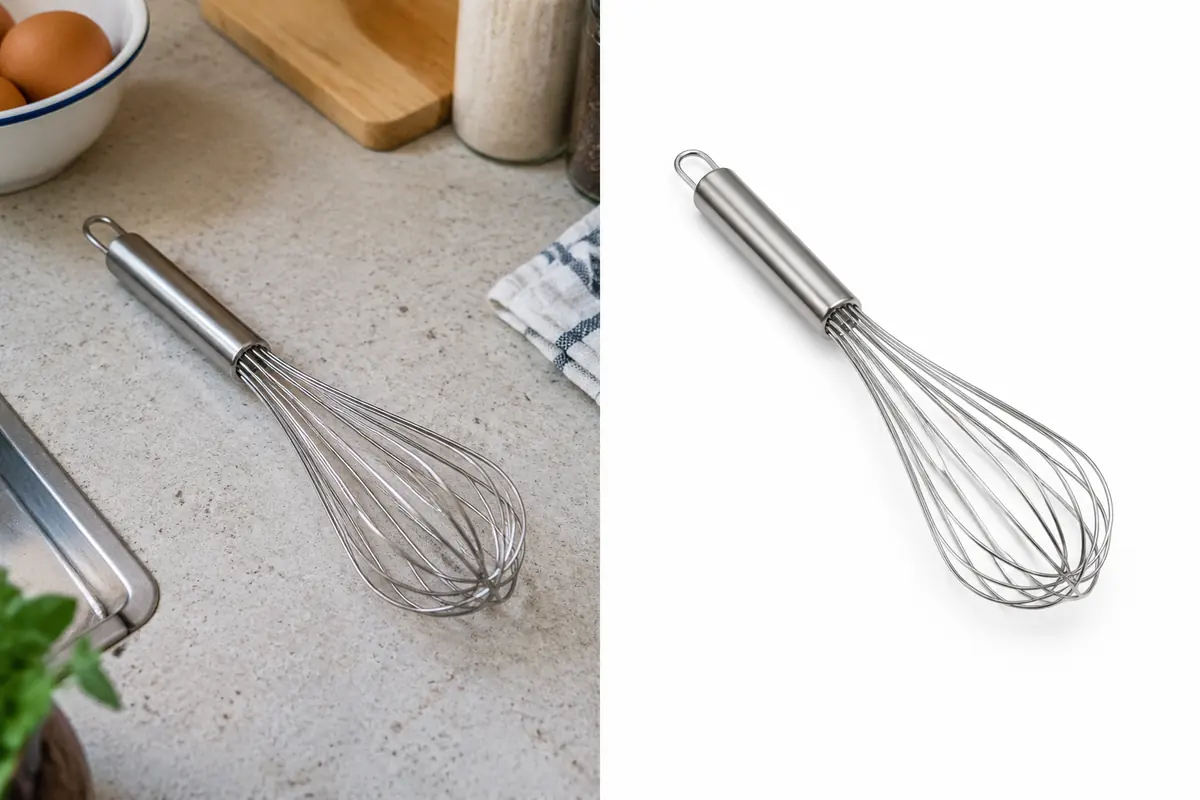
In our kitchen batch, group A (silicone spatulas, wooden spoons, measuring cups) was about 60%, group B (whisks, colanders, graters) about 30%, and group C (glass spice jars, mirror-finish lids) about 10%.
Step 3: batch AI cutout
AI cutout accepts several images per batch; the per-batch limit depends on your account settings. Key settings:
Output background
- White — pure white, ready to upload as a white-background main image;
- Transparent — a transparent PNG for compositing scenes or placing on different colours later;
- Custom colour — a set background colour for shops that use one light tone throughout.
Our advice: output transparent versions first as masters, then produce white versions as needed. A transparent master can be reused for scenes and colour changes without cutting again.
Edge feathering
- None — sharpest edges, for hard products with clean outlines;
- Soft — slightly softened, right for most products; our usual setting;
- Smooth — for fluffy or fabric products whose edges are soft anyway.
Too much feathering leaves a grey halo on white, one of the common reasons platforms reject white-background images.
Step 4: review
Review is the most important step and the one most often skipped.
Group A: spot-check
Randomly pick two or three of every twenty and check edges at 100%. If they all pass, the group passes; if not, widen the check.
Group B: check every edge
Openings and thin wires are where AI cutouts go wrong: background trapped between whisk wires, colander holes filled in. Check each image zoomed in and fix problems with Inpaint or reprocess.
Group C: handle individually
Transparent and reflective products often come out with glass turned solid white or reflective areas cut away:
- Transparent products: keep the transparent version, and when compositing onto white make sure the glass shows white through it, not the original background colour;
- Reflective products: if reflections show the studio, use reflection removal in Retouch;
- Fluffy products: use smooth feathering and check that clumps of fibre haven't been clipped.
Step 5: naming and archiving
Two hundred SKUs with at least two versions each needs order. Our naming pattern:
SKU_colour_angle_version.png, e.g. K1032_red_45_alpha.png and K1032_red_45_white.jpg
Archive in three folders: originals, transparent masters, white finals. Upload only from the white finals folder.
Step 6: final check before upload
- Background pure white (sample all four corners);
- Product complete, not cropped;
- Consistent product size across images;
- Clean edges, no halo or leftover background;
- File names match SKUs.
Platform requirements vary; see Taobao's five main images and product images for JD.
Where the time goes
For these 200 kitchen tools, our time was roughly: one day shooting, half a day batch cutting and grouping, one day reviewing and fixing (mostly groups B and C), and half a day naming and archiving. Compared with cutting everything by hand, the saving is mostly in group A; groups B and C still need people. That's why grouping is the key step — it decides where human attention goes.
Upload one product photo and get a full set of listing-ready visuals in minutes.
Keep reading