Launch apparel without booking models: a practical guide to AI outfit swap
From sample to listing, the model shoot is usually the slowest and most expensive step. Here is a complete AI outfit-swap workflow for on-model shots, plus the pitfalls to avoid.
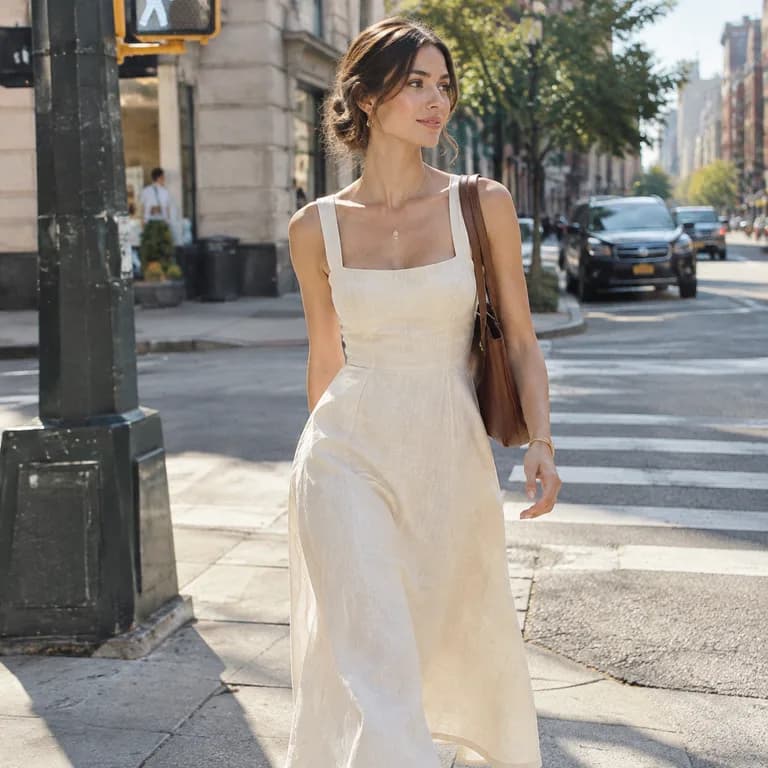
For fashion stores, launch speed is everything. But booking models, renting a studio and retouching can take days per style and cost a lot. AI outfit swap compresses that step into minutes.
Prepare your inputs
- Garment photos: flat-lay or hanging, full front view, no wrinkles hiding details — ideally with one close-up;
- Model photo: a natural pose with even lighting (an image of a model you already have rights to works well);
- Background (optional): upload a custom background if you want a consistent store look.
When using a real person's photo, make sure you have their likeness rights.
Steps
- Open Outfit swap and upload the model photo first — it is the image being edited;
- Upload the garments; each is marked "must match exactly" so fabric texture, prints and fit are preserved as closely as possible;
- Choose a background: keep the original, plain studio, street, or your custom background;
- Choose how many images, submit, and check results in the task centre.
Keys to faithful results
| Problem | Cause | Fix |
|---|---|---|
| Distorted prints | Low-res or wrinkled garment photo | Use a flat, sharp garment photo |
| Colour shift | Wrong white balance in the original | Correct colour with Product retouch first |
| Wrong fit | Pose hides the body of the garment | Use a front-facing pose with arms clear |
Using a set of on-model shots
- Main image: front, full length, clean background;
- Additional images: side, back, details, styled scenes;
- Detail page: different body types and scenes to help shoppers choose a size.
Save a result you like as a template — other colours in the same line only need a new garment photo. See more apparel work in the case gallery and main image rules in the complete hero image guide.
Put these ideas to work
Upload one product photo and get a full set of listing-ready visuals in minutes.
Keep reading