Building a TikTok creator kit: product images, benefit cards and a one-page brief
When creator videos miss the mark, the kit you sent is often the reason. Here's a checklist you can follow: which images to include, how to write benefit cards, how detailed a brief should be, and what creators must not say.
The most common complaint about creator partnerships is "that's not what we wanted." Then you look at what was sent: a product link, a note saying "do whatever feels natural", maybe a few screenshots of the product page. With that little to go on, the creator shoots their own guess at the product.
Creative freedom matters — creators know their audience better than any brand. But freedom works when people know where the edges are and what matters most. A good kit gets that across in as few pages as possible.
What goes in the kit
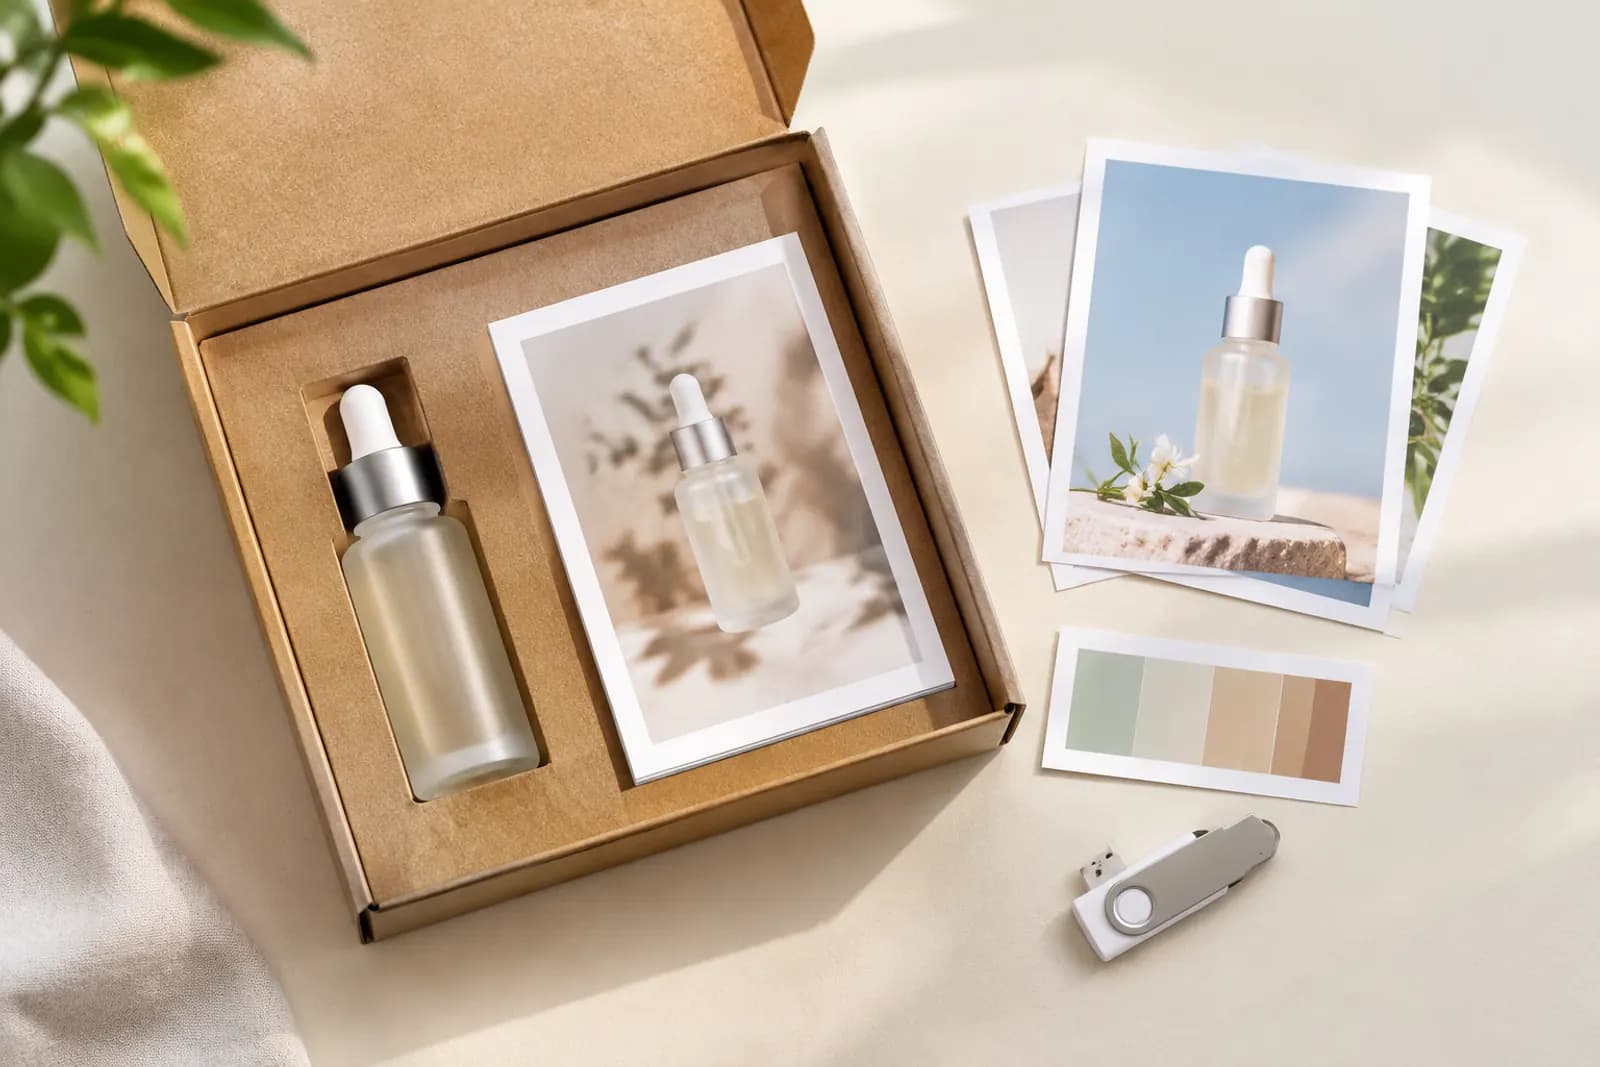
We usually send six things:
| Item | Purpose | Format |
|---|---|---|
| Product images | Show the whole product and its details | 5–8 images |
| Benefit card | The three benefits that matter most | One image or PDF page |
| Brief | Goal, must-have shots, no-go areas | One page |
| Claims to avoid | Prevent violations and exaggeration | A list |
| Sample | The real thing | A parcel |
| Usage rights | How you can reuse the video | Contract terms |
Step 1: choosing product images
Creators don't need your full product page. They need images that help them understand the product:
- One white-background overview so they know exactly what it looks like;
- Two or three detail shots — ports, materials, buttons — to flag what deserves a close-up;
- One or two lifestyle images as direction, not a template;
- One flat lay of the box contents, so nothing that isn't included ends up on camera.
Send originals at full resolution in a folder with descriptive file names like "02-port-closeup.jpg". Don't send long text-heavy product page graphics; nobody can pull useful information out of those.
Step 2: a benefit card with three points
This is the most important page in the kit.
- Three points only. Ten points means the creator picks at random.
- One line plus a way to prove it. "Juice in 30 seconds", followed by "Suggested shot: fruit in to juice out in one continuous take."
- Ranked. Point one must appear in the video.
- In the buyer's words. Not "high-RPM motor" but "crushes ice".
Example for a portable blender:
- Crushes ice — suggested shot: ice in, blender on, until it's crushed;
- A week of use per charge — can be shown in passing during daily use, no dedicated demo needed (use your tested figure);
- Drink straight from it — suggested shot: blend and walk out the door.
Step 3: a one-page brief
A brief aligns goals; it isn't a shot-by-shot script. Over-scripted creators look stiff, and their followers spot the ad immediately. Our template:
- Goal of this video: launch awareness / direct sales / support a sale event;
- Audience: e.g. "commuters who want fresh juice but have no time";
- Must-have shots: three at most, matching the benefit card;
- Opening: product on screen within the first second, starting from the result or mid-action (more in TikTok Shop video covers and the first second);
- Length: a range, not an exact number of seconds;
- Posting: how to link the product, hashtags, posting window;
- Disclosure: turn on the paid partnership or commercial content label as the platform requires.
Step 4: claims to avoid
Don't skip this. What a creator says about your product represents your brand, and if it breaks the rules it's your listing that gets pulled. Common points to flag:
- Exaggerated results — "permanent", "100%", "cures";
- Medical claims — general products can't claim to treat or prevent illness;
- Unprovable comparisons — "better than Brand X", "cheapest anywhere";
- Specs not on the product page — creators should only quote what's on the benefit card or listing;
- Safety promises for children's or pet products without test reports to back them.
Advertising rules vary a lot by market and category — the US and each Southeast Asian market differ. Write the list for the specific market, and when unsure, leave the claim out.
Step 5: samples and packaging
The sample is the creator's first impression of your brand:
- Inspect each unit before shipping; don't send anything scratched;
- Include a card with a contact and the single most important usage tip;
- If the product needs charging or assembly, charge it or add a simple step diagram;
- Send the colour you're pushing or have the most stock in.
Step 6: agree usage rights
If a creator's video performs, you'll want it for ads or your product page. Agree on uses, duration and channels before the collaboration — don't assume "you sent it, so we can use it."
Should you send AI-generated scene images?
You can, as direction rather than instructions. A creator video is valuable because it shows real use; if creators stage shots to copy a generated image, the authenticity is gone. We often use AI generation to make a few reference scenes that help creators picture where the product fits, and write "use your own real-life setting" in the brief.
If you're short on clean white-background and detail images for the kit, Product image sets can produce them in marketplace-ready sizes. The specs and claims on the benefit card, though, must come from real testing.
Upload one product photo and get a full set of listing-ready visuals in minutes.
Keep reading