Shooting and cropping 3:4 product photos for SHEIN
SHEIN displays products mostly in 3:4 portrait. Crop square photos to fit and you get models without heads and shoes without toes. Here's how to compose for 3:4, plan colourways and check batch crops.
Anyone selling on SHEIN knows the storefront leans on 3:4 portrait images. The commonly recommended size in the seller back end is 1340 × 1785 pixels; follow the current upload guidance there.
The trouble is that supplier and factory images are often 1:1 squares or crops prepared for other platforms (4:5, 2:3). Crop those to 3:4 and you get the usual casualties: the top of a model's head, the toe of a shoe, half a bag handle. One image doesn't look too bad. A whole category page of them looks careless.
The real fix is composing for 3:4 at the shoot.
Why portrait suits apparel
Portrait framing has clear advantages for fashion:
- Full-length shots fit better — people are vertical, so the model fills more of the frame;
- More screen space on mobile — in a two-column feed, portrait images take up more height than squares;
- Detail and context together — even an upper-body crop keeps some sense of setting.
The flip side: portrait is awkward for wide products like bolsters or bedding, which need more deliberate margins.
Composition: set a safe frame first
Set the camera or phone to a 3:4 aspect ratio during the shoot and mark a safe frame in the viewfinder:
| Area | Guide |
|---|---|
| Headroom | About 5–8% of frame height |
| Below the feet | About 3–5%, shoes fully visible |
| Sides | Arms hanging naturally shouldn't touch the edge |
| Placement | Leave a little more space in the direction the model looks |
Margins give you room later. The platform may overlay tags, prices or badges on thumbnails, and some placements crop slightly. Without enough headroom and footroom, those overlays sit on top of the parts that matter.
Model, flat-lay and detail shots
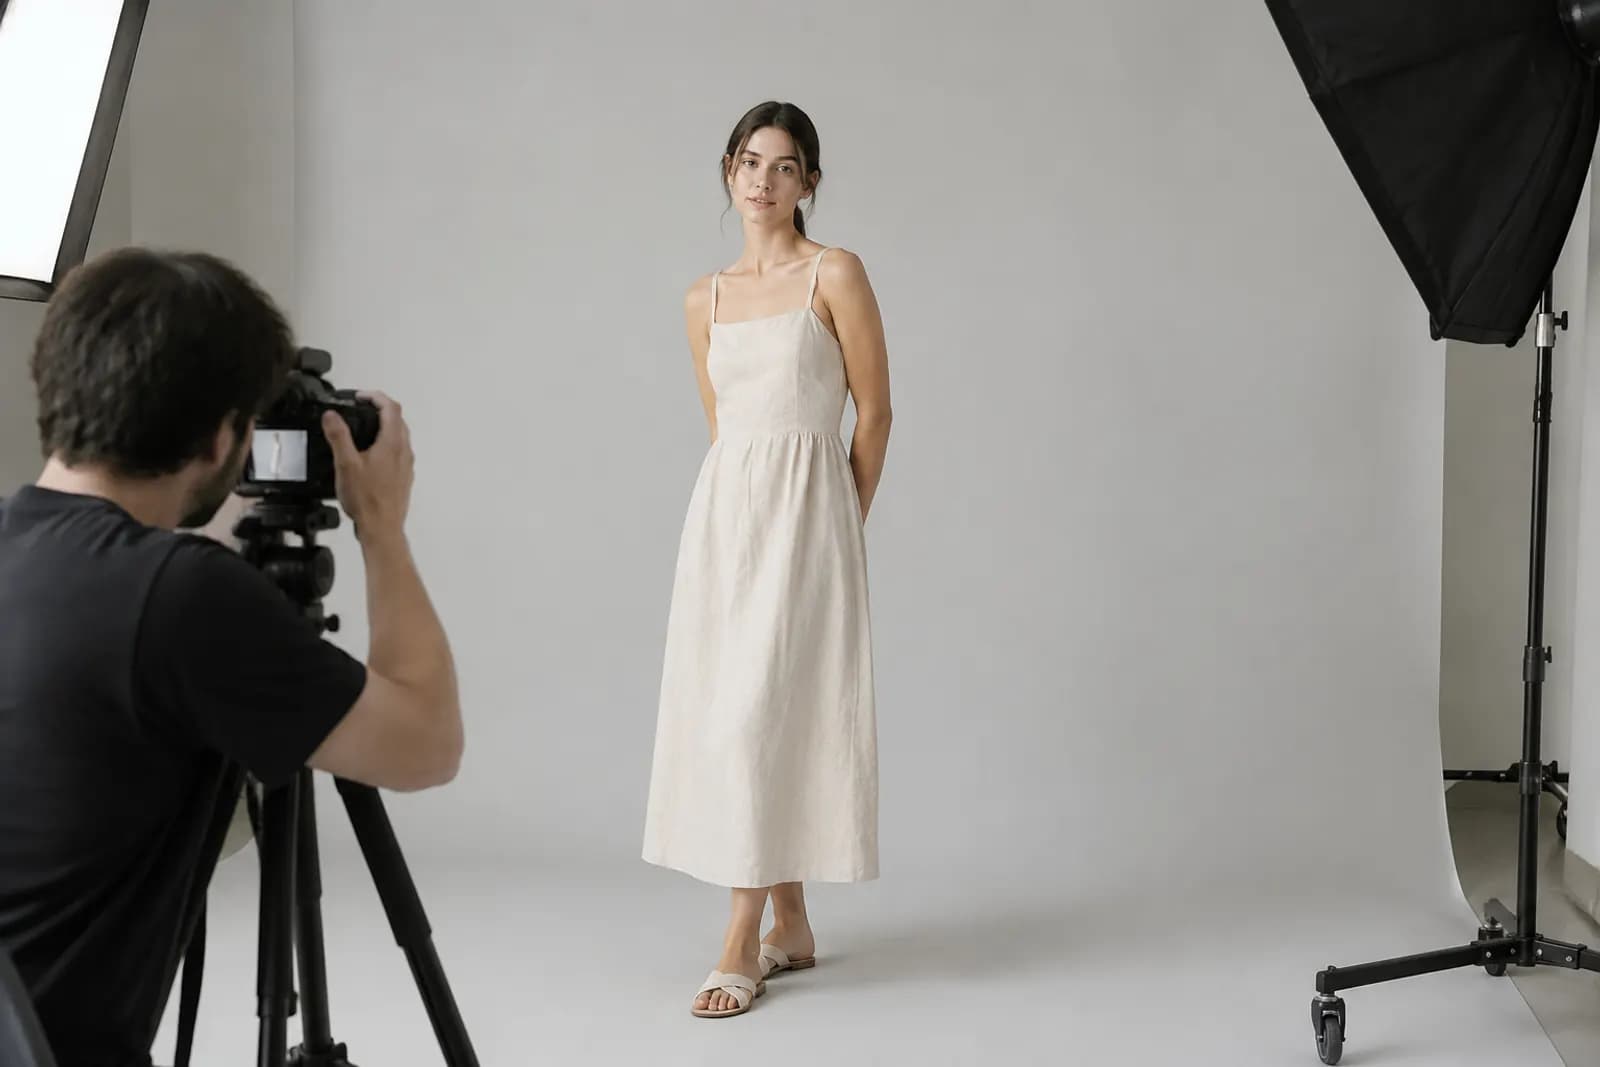
Model shots: shoot at eye level or slightly below the waist; high angles shorten legs. A light grey or warm white backdrop defines pale garments better than pure white. A typical set: front, side, back and one moving pose.
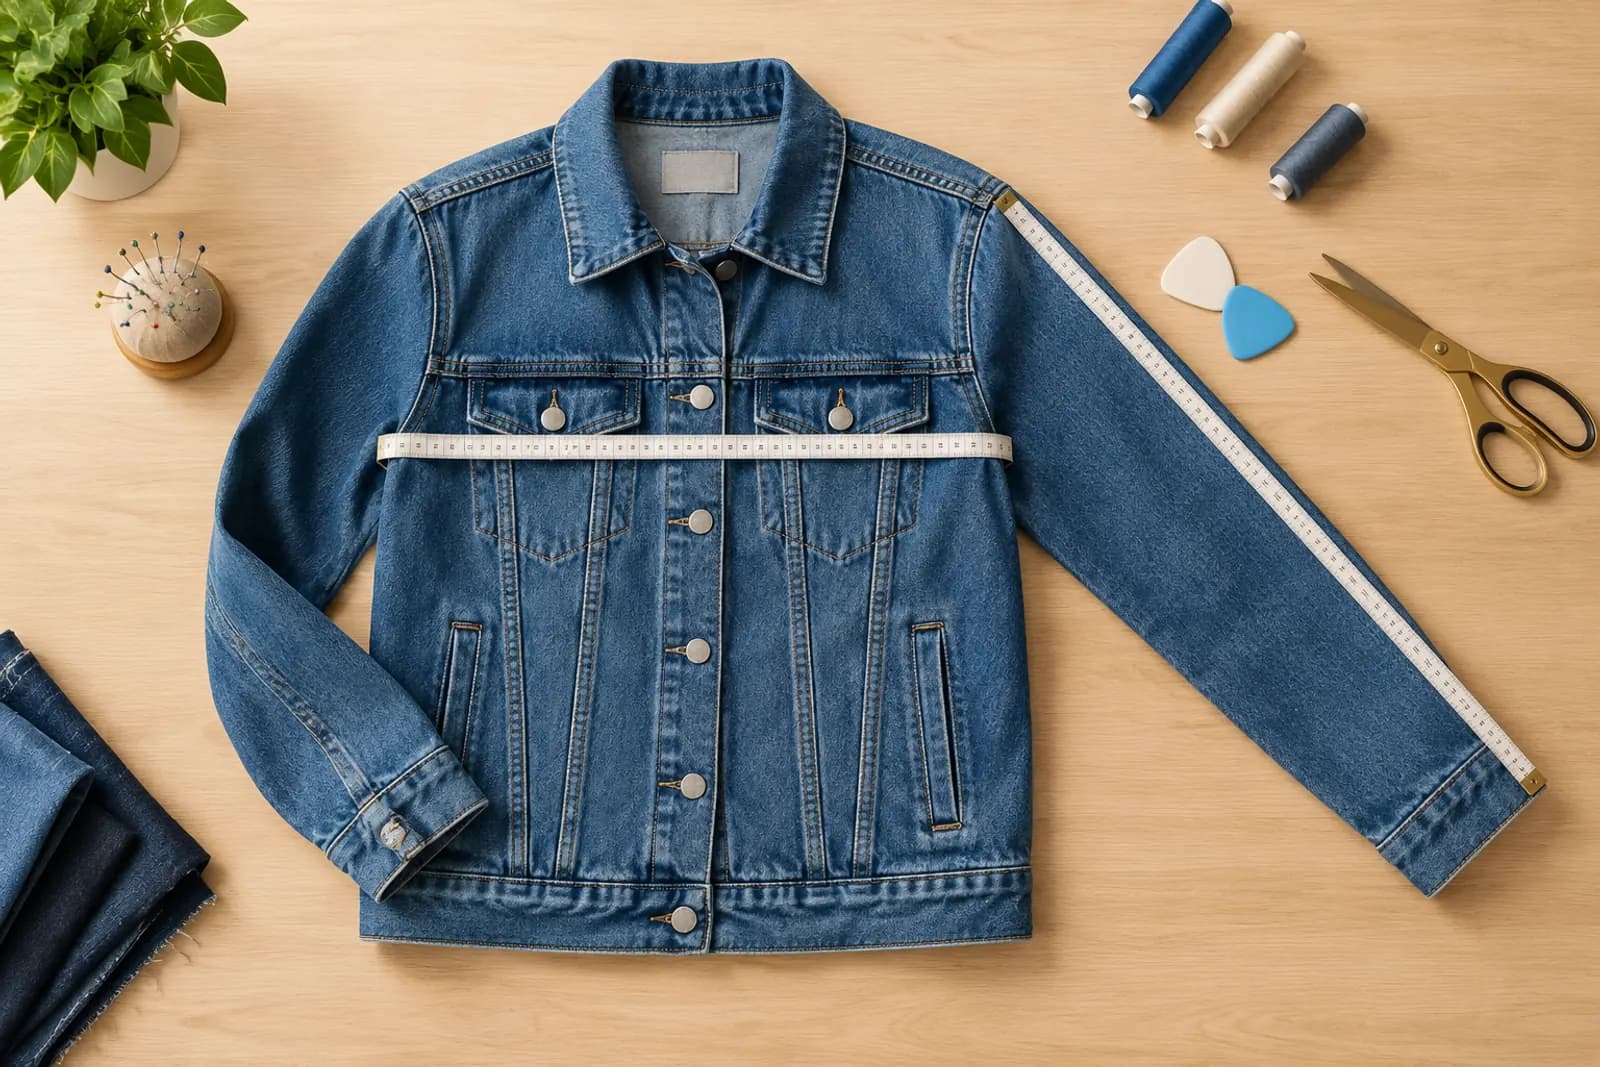
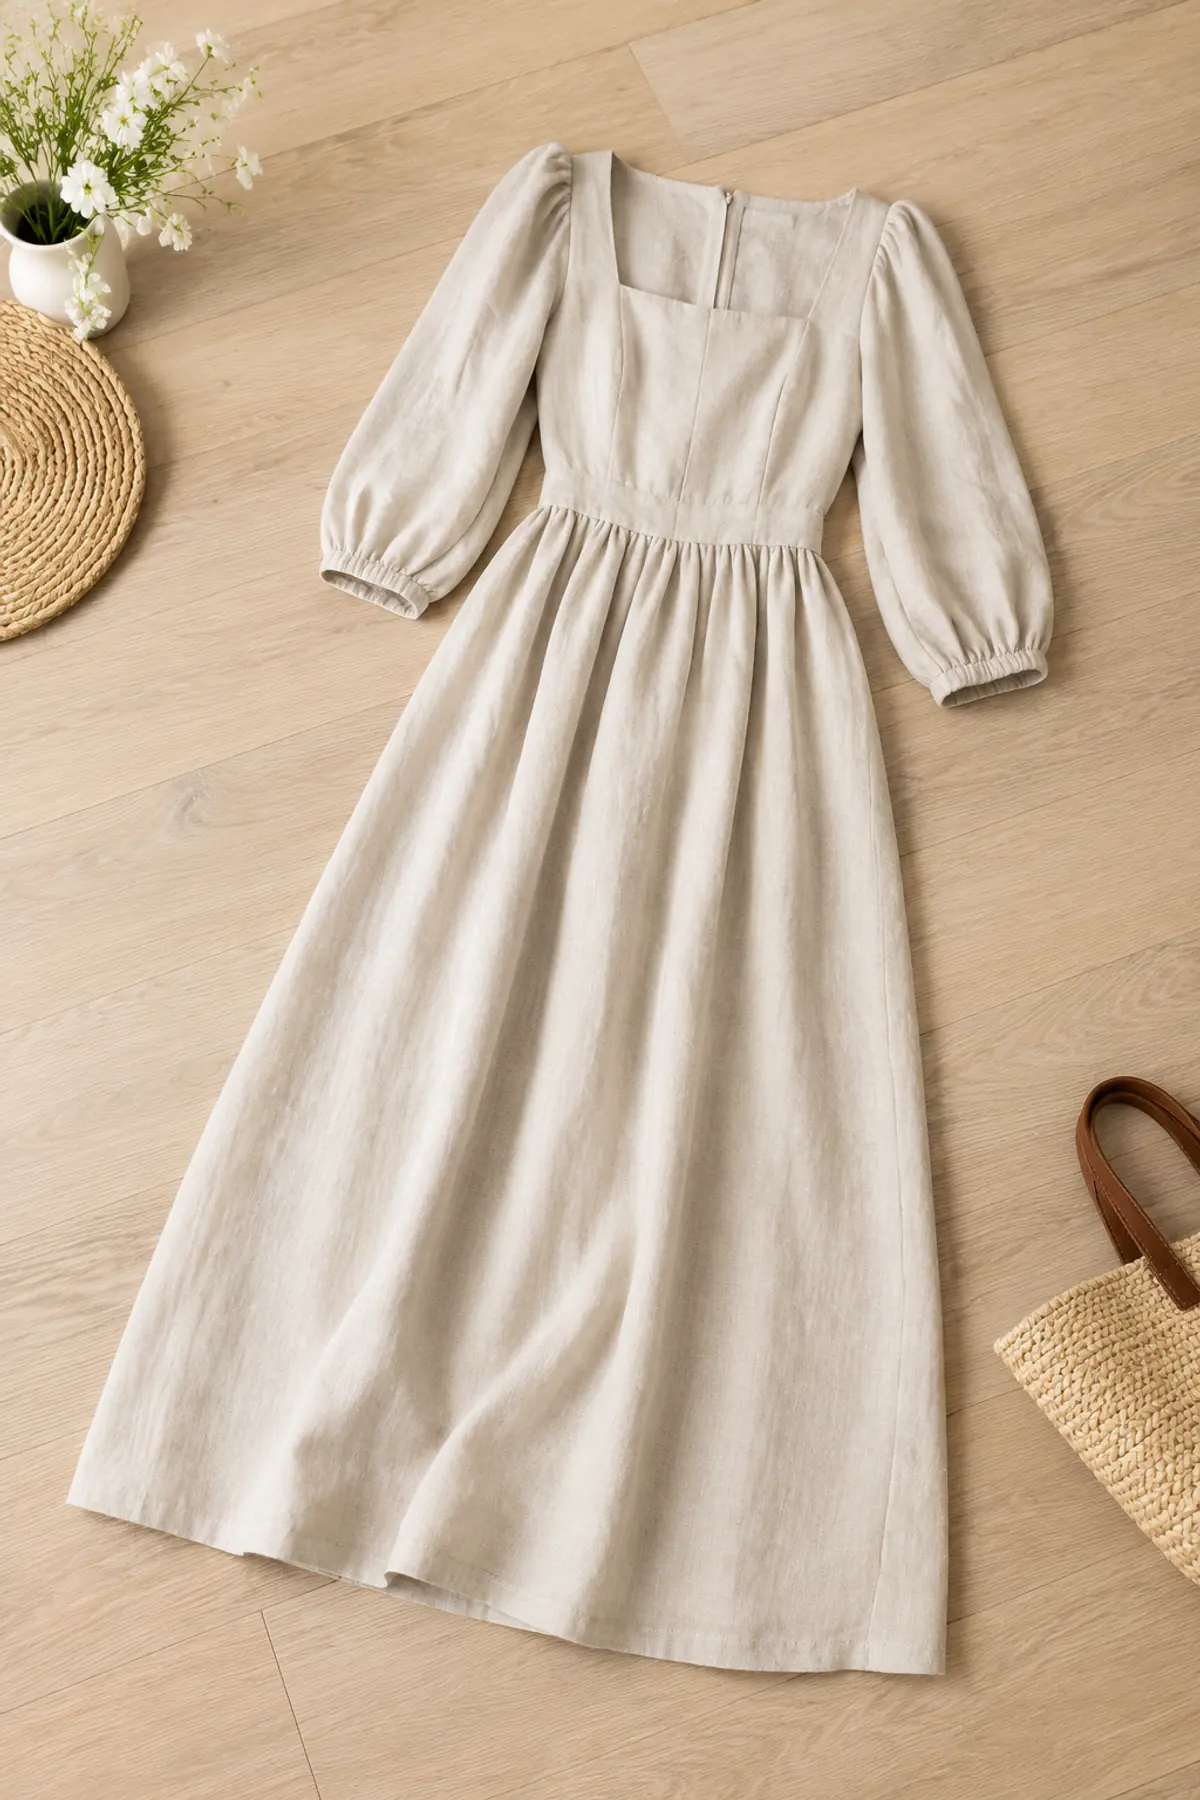
Flat lays: in a 3:4 frame, flat lays often leave too much empty space top and bottom. Angle sleeves slightly downward or lay trousers diagonally so the garment fills the vertical frame.
Details: collar, buttons, fabric texture and labels, shot close in portrait. The biggest risk here is over-retouching. True fabric texture matters more than looking perfectly smooth.
Planning colourways and sizes
Apparel often comes in five or six colours. Shooting a full model set for each is expensive. A common approach:
- Lead colour: full model set, details and flat lay;
- Other colours: at least one front model shot and one flat lay each, in accurate colour;
- Sizing: a separate size chart image with measured values.
Colour accuracy matters most. "Colour doesn't match the photo" is one of the commonest apparel return reasons. Put a grey card or colour chart in a reference frame and correct against it, and shoot every colourway under the same lighting so one isn't warm and another cool.
When all you have is squares
If you only have square images and no time to reshoot, there are two ways out:
- Extend top and bottom. Add background above and below to turn 1:1 into 3:4. This works well for plain or simple backdrops — set a 3:4 target in AI outpaint.
- Re-centre the crop. If the original has generous margins, crop to 3:4 with the model slightly above centre so head and feet stay in.
Zoom in after extending: check that background texture is continuous, floor shadows look natural and nothing odd has appeared. Busy backgrounds like street scenes extend less reliably than studio backdrops; sometimes a reshoot is the only honest option.
Batch crop checklist
When processing dozens or hundreds of images, spot-check for:
- Space above the head and below the feet;
- Key garment areas — neckline, waist, shoe uppers — fully in frame;
- Consistent model size across a product's images;
- Colour matching the physical swatch;
- Sharpness, with fabric texture visible at 100%;
- No watermarks, other brands' marks or text.
A workable weekly routine
For a fashion shop launching 20–30 styles a week:
- On shoot day, lock the 3:4 frame and shoot full sets for lead colours, lean sets for the rest;
- That evening, make first selects: six to eight images per style;
- Next day, batch colour-correct and clean up wrinkles and marks with Retouch;
- Day three, spot-check against the list and upload.
If you need more model shots than you can photograph, our AI outfit swap guide covers dressing existing model images in new garments. Check swapped images especially carefully for garment details and fit — they must match the real product.
Upload one product photo and get a full set of listing-ready visuals in minutes.