Apparel size chart images: flat measurements, model details and fit notes
"Wrong size" is consistently among the top reasons for apparel returns. A clear size chart needs more than a table of numbers. Here's how to measure garments flat, write the chart, show model information, and explain fit and stretch.
"Wrong size" sits near the top of apparel return reasons almost permanently. A shopper checks their height and weight against the chart, picks a size, and finds the shoulders tight, the sleeves long, the waist loose.
Many shops' size charts are a single table: S, M, L, XL and some numbers. The numbers may be right, but the shopper doesn't know how they were measured, how they relate to their body, or whether the garment is slim or relaxed. A good size chart answers all three.
1. Measure flat, and show how
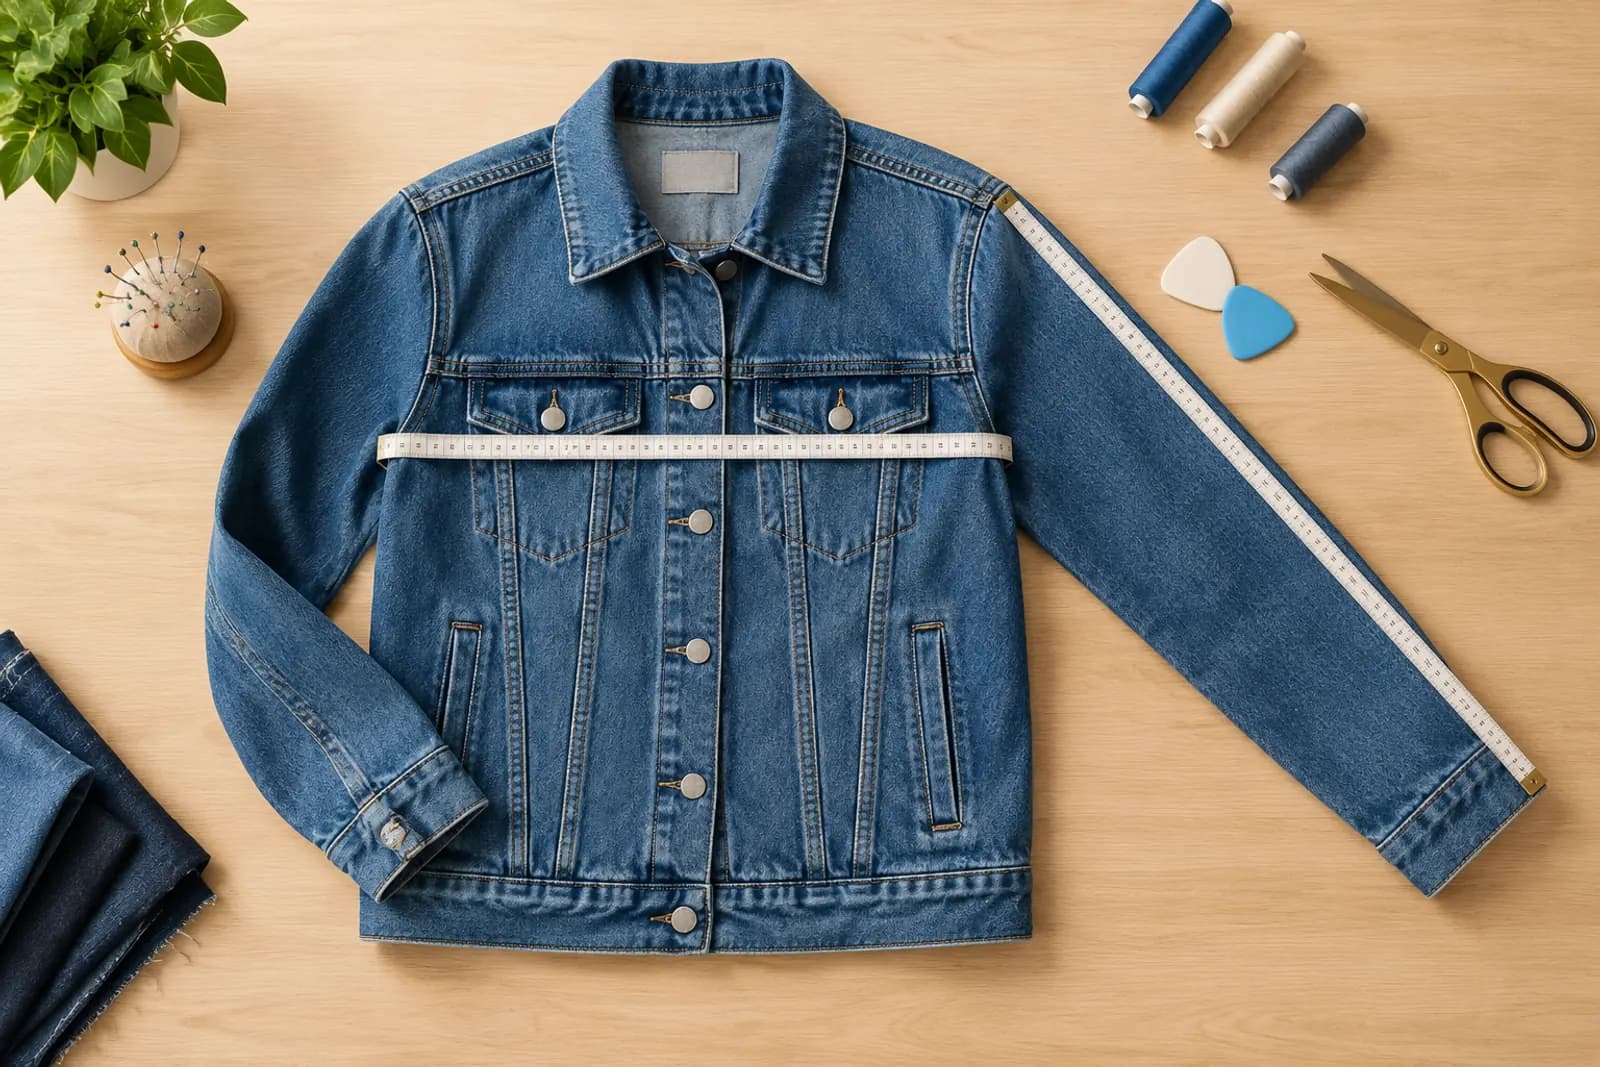
Garments are usually measured laid flat, and different methods can differ by several centimetres. Include a diagram showing how each point is measured:
| Point | Method |
|---|---|
| Length | From the centre back neck to the hem, straight down |
| Chest | Width across from armpit to armpit, laid flat, × 2 |
| Shoulder | Straight line between shoulder seams |
| Sleeve | Shoulder seam to cuff (from the collar for raglan sleeves — say so) |
| Waist | Waistband width laid flat × 2; for elastic waists, say relaxed or stretched |
| Trouser length | Waistband to hem along the outside seam |
| Hip | Width about 10 cm above the crotch, laid flat, × 2 (state the point) |
A flat-lay photo or line drawing with measurement lines works as the diagram. Line drawings are clearer; Line art can generate one from a flat-lay photo, then you add the lines.
2. Writing the chart
- One unit — centimetres on Chinese platforms;
- Garment measurements, not "fits chest" — the garment's own size lets buyers compare with clothes they already own, which is the most reliable method;
- State tolerance — hand measurements usually note 1–3 cm;
- One row per size — points across, sizes down;
- Big enough type to read on a phone.
Add a note beside the chart: "Lay a similar garment that fits you well flat, measure it, and compare." It beats any recommendation table.
3. Model information
"Model is 168 cm, 50 kg, wearing S" is extremely useful. It lets shoppers compare their build with the model and picture the fit.
- Give height and weight, and ideally chest, waist and shoulder;
- State the size worn;
- Label each model if there are several;
- Show the fit the size actually gives — don't clip the garment at the back to make it look slimmer.
That last point matters. Clipping garments at shoots is common, but it creates false expectations of the cut. If it's a relaxed fit, show it relaxed.
Fit and stretch
The same measurements feel different in a slim and a relaxed cut, and the same chest size fits differently in stretch and non-stretch fabric. Simple scales work well:
- Fit: slim — regular — relaxed — oversized;
- Stretch: none — slight — medium — high;
- Weight: light — medium — heavy;
- Length: cropped — regular — long.
Mark where the garment sits on each. Shoppers read it at a glance.
Height-and-weight recommendations: use with care
Many shops offer "160–165 cm, 45–50 kg: size S" tables. They help some shoppers, but bodies with the same height and weight can have very different proportions.
If you provide one:
- Note it's for reference only and that garment measurements are the better guide;
- Base ranges on real try-on feedback, not arithmetic;
- Revise them regularly using return reasons and reviews.
Iterate from return reasons
A size chart isn't finished once it's published. Each month, review size-related return reasons and reviews mentioning "runs small" or "runs large". If many say it runs small, recheck the measurements before adding a "consider sizing up" note. If complaints cluster on one point, such as narrow shoulders, highlight that measurement in the chart.
Where it goes
- A simplified chart, or an image with model details, in the main image set;
- The full chart, measuring diagram and fit notes on the detail page;
- SKU size names that match the chart exactly.
Checklist
- A diagram shows how each point is measured;
- Garment measurements, one unit, tolerance noted;
- Model height, weight and size worn;
- No clipping that changes the fit in model shots;
- Fit, stretch and weight notes;
- Recommendation tables marked "for reference";
- Numbers readable on a phone.
For shooting model and flat-lay images, see SHEIN 3:4 product photos. If you want to show new styles on existing model images, see our AI outfit swap guide — but swapped images must reflect the real cut just as faithfully.
Upload one product photo and get a full set of listing-ready visuals in minutes.
Keep reading