How to order your Amazon listing images, from the main image to slot seven
Amazon image slots are not a storage folder. Each one should answer a specific buyer question, in the order buyers ask it. Here is how we assign seven slots and check them on mobile.
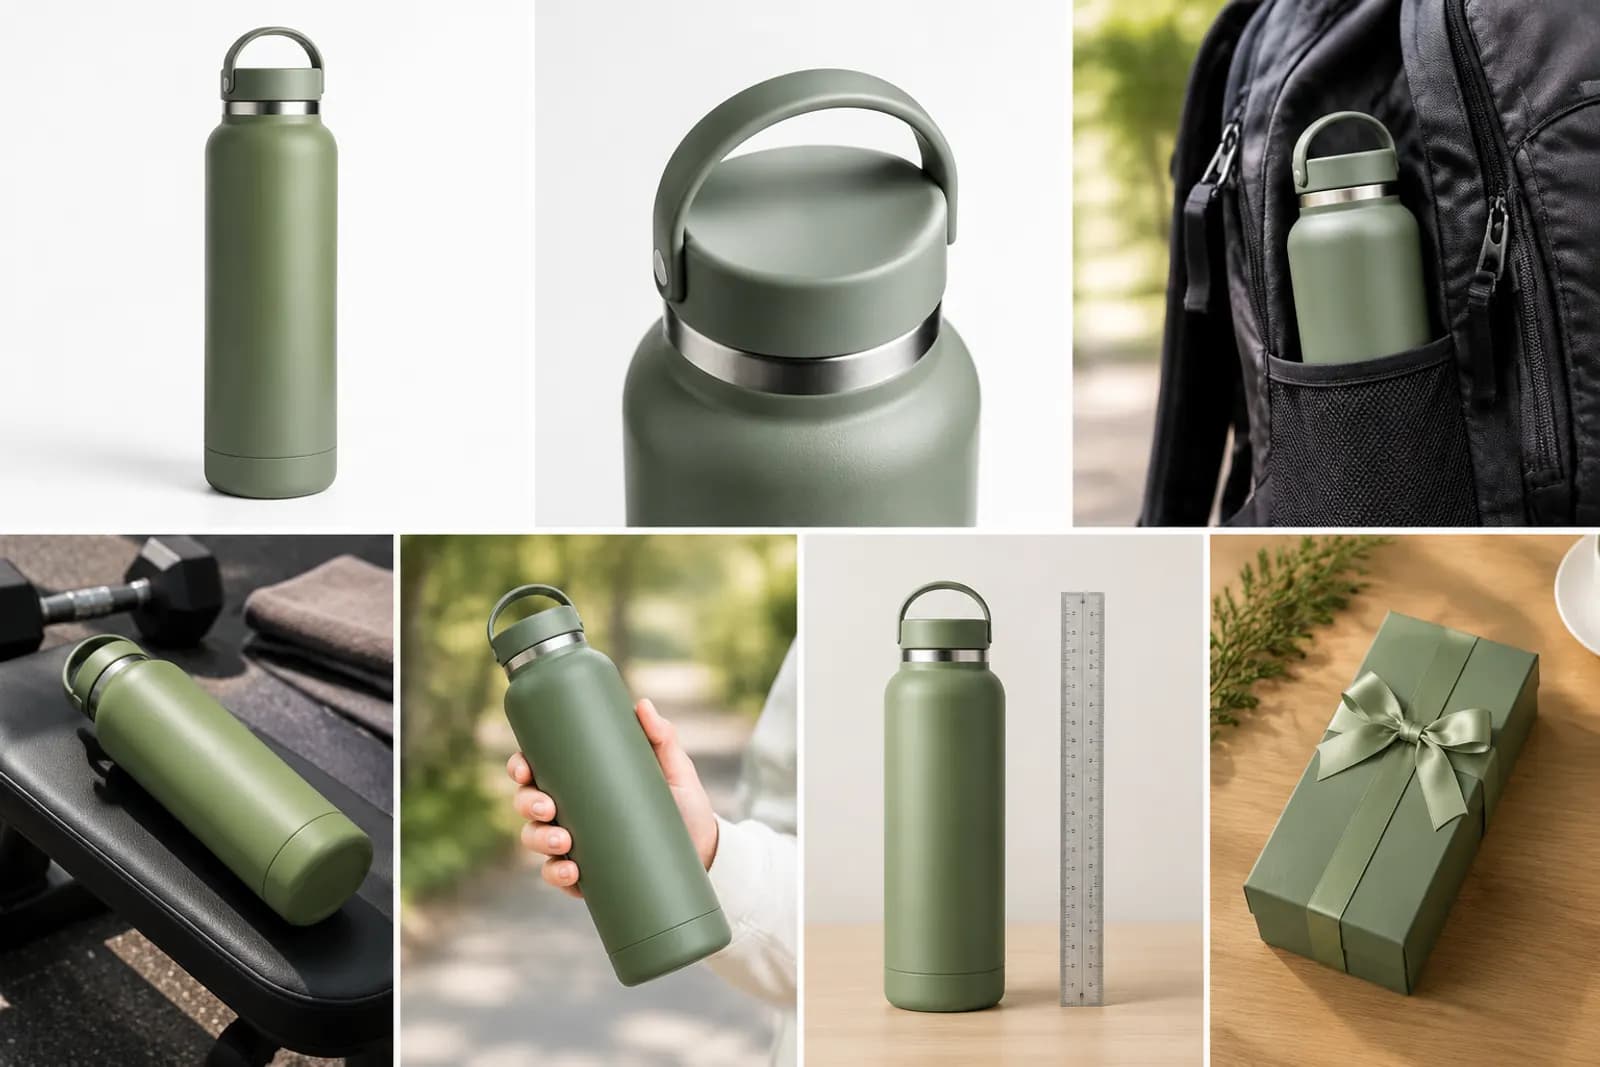
A lot of listings treat the image gallery like a shared drive: whatever was shot gets uploaded, in whatever order the files happened to be named. You end up with image two and image five making the same point, while the question shoppers actually have — how big is it, will it fit my car's cup holder? — never gets answered.
On mobile, only the main image is visible above the fold, and most people swipe through three or four more before deciding. So the job isn't to make every image beautiful. It's to make each image answer one question, in the order buyers ask them.
How many slots do you actually have?
Amazon shows a main image plus a set of secondary images, and a video takes one of the gallery positions. The exact number displayed varies by category and device, so check the live preview in Seller Central rather than trusting a number from a blog post — including this one. We'll work with the common case of one main image and six secondary images.
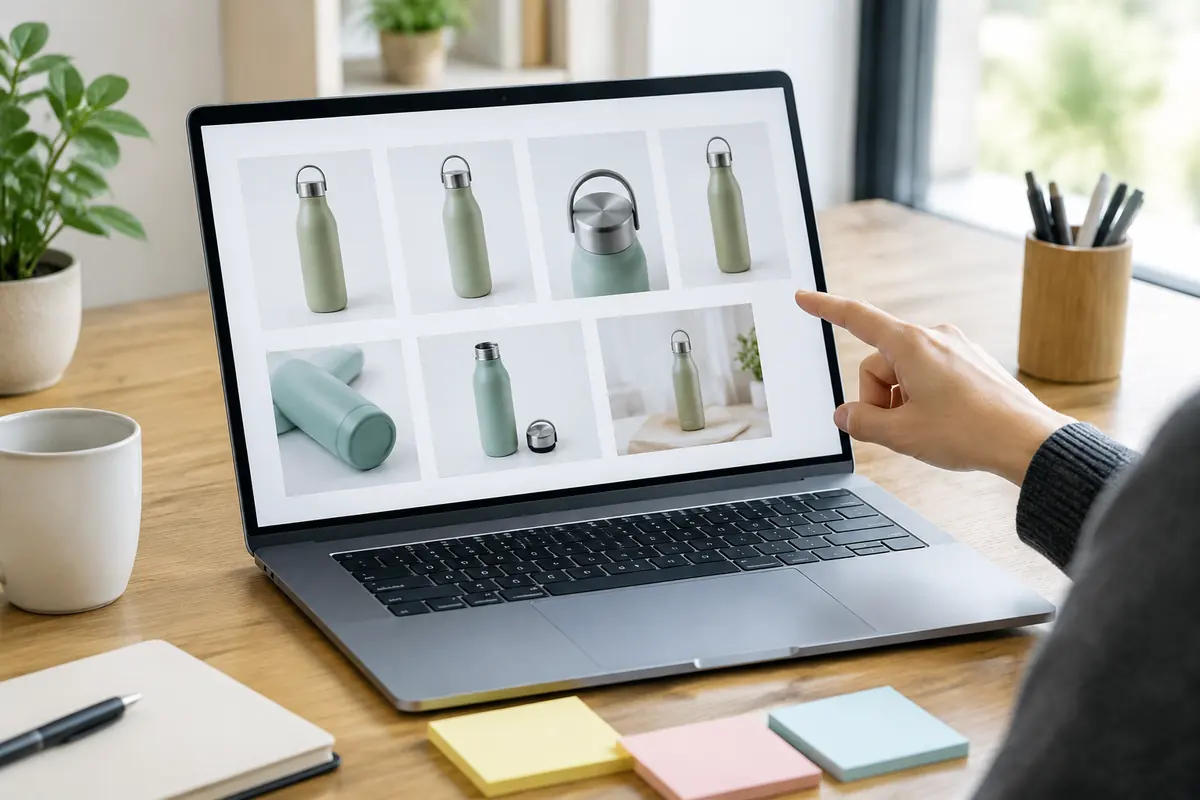
The seven-slot plan
| Slot | Question it answers | What to show | Avoid |
|---|---|---|---|
| 1 Main | What is it? | Pure white, product fills ~85% | Text, badges, prop clutter |
| 2 | Why this one? | One strong benefit, with visual proof | Five benefits as tiny icons |
| 3 | What's it like to use? | Your real buyer in a real setting | Pretty but irrelevant styling |
| 4 | How big is it? | Dimensions or a familiar scale reference | "Approximate" drawings with no numbers |
| 5 | Is it well made? | Material, seams, ports, close-ups | Retouching that changes the material |
| 6 | What's in the box? | Every included item laid flat | Items that aren't actually included |
| 7 | Can I trust it? | Warranty, care, genuine certifications | "#1" or "best" claims |
Treat this as a starting point. Apparel might use slots 3 and 4 for on-model shots; tools might need dimensions before lifestyle. The simple rule: list the six questions you get most often from buyers, rank them by frequency, and order your images the same way.
Slot 1: one job only
The main image rules are fairly clear: pure white background (RGB 255,255,255), only the product being sold, no added text, logos, watermarks or borders, and the product filling about 85% of the frame. You need at least 1000px on the longest side for zoom; we'd aim for 1600px or more. We covered the details in our Amazon main image requirements guide.
One habit worth adopting: shrink your finished main image to roughly 200px wide and place it next to the top 20 results for your main keyword. If yours looks smaller or greyer, the fix is usually tighter cropping or a three-quarter angle, not a reshoot. Tall, slim products like bottles almost always read bigger at 45° than straight on.
Slot 2: the benefit that separates you
This is the first image a shopper deliberately swipes to, and it does more work than any other secondary image. The common mistake is a "benefits collage" — leak-proof, 24-hour cold, stainless, dishwasher safe — each reduced to an icon nobody reads.
Pick the one benefit competitors either don't have or don't prove, then prove it visually. Leak-proof? Hold the bottle upside down over a white shirt. Keeps drinks cold? Show ice that's still intact. Keep the headline to six words or fewer.
Slot 3: a scene that signals the buyer
Lifestyle images go wrong when they're styled for a mood board instead of a customer. Details in the frame should say who the product is for: a backpack side pocket and a train platform for commuters, a bench and towel for gym-goers. You can't win all three audiences in one shot, so check which search terms convert best in your ad reports and build the scene for that buyer.
Slot 4: real numbers
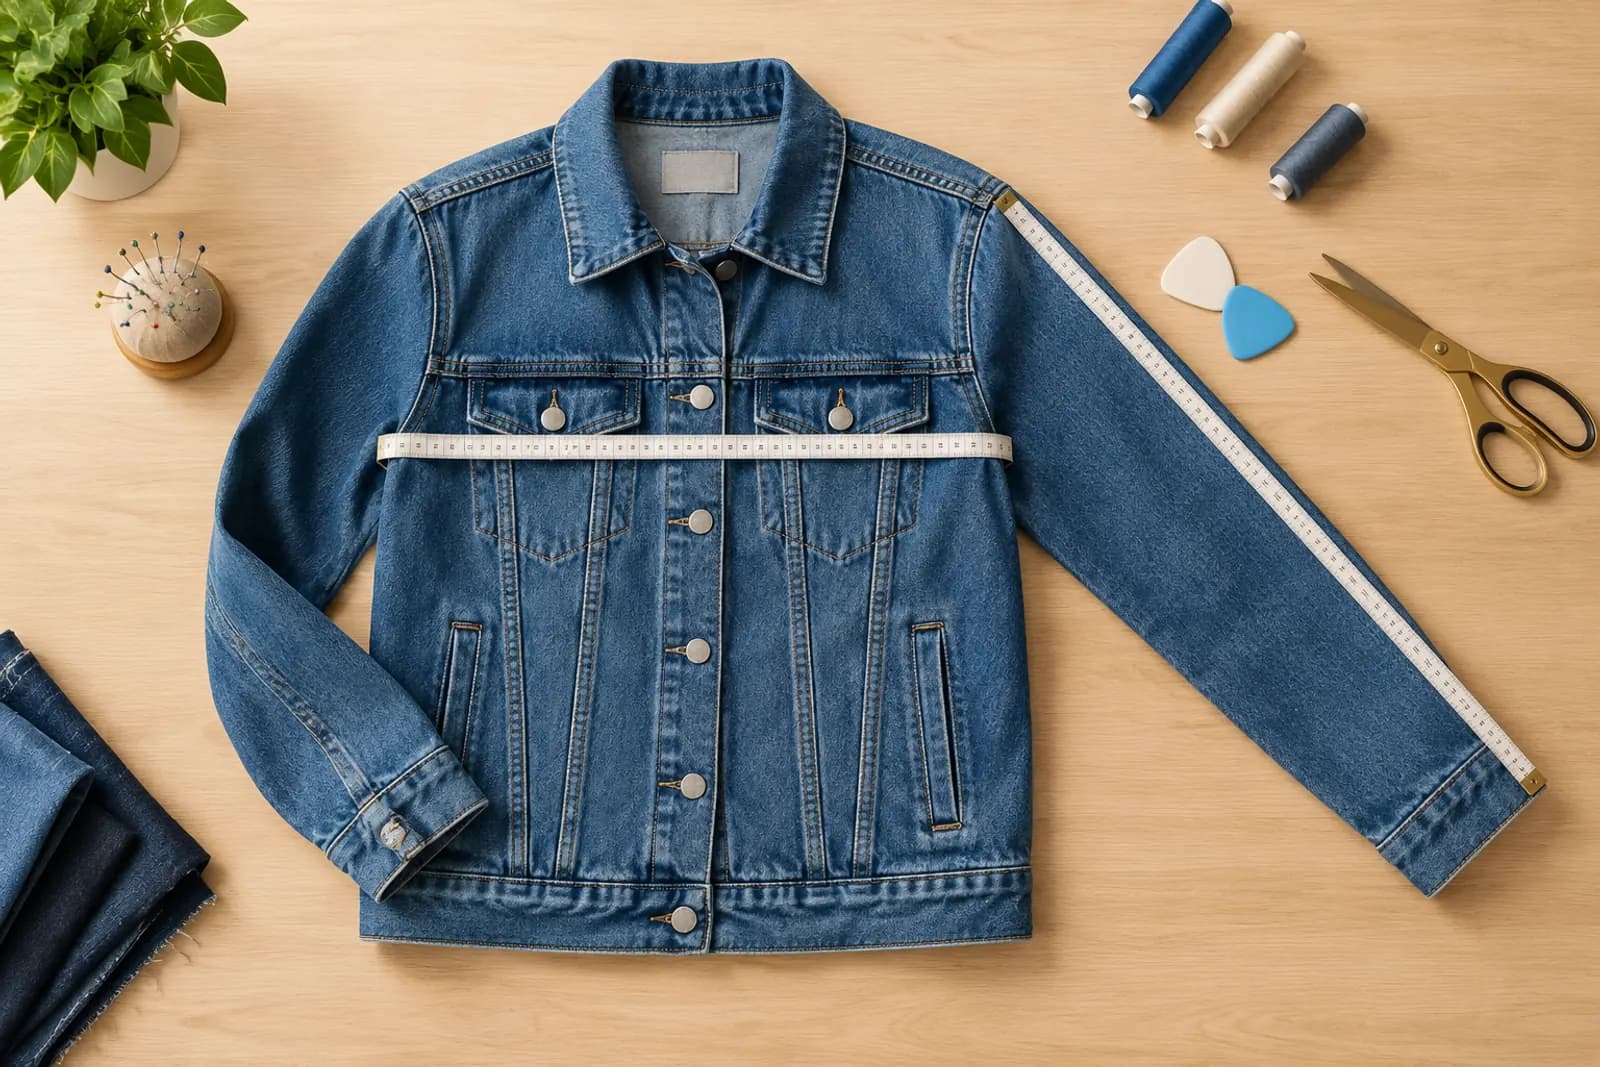
The size image is the cheapest way to cut returns. Give real measurements — inches first on the US site, centimetres alongside — and add a familiar reference such as a hand, a soda can or a sheet of paper. If you don't have verified dimensions, show a scale comparison without numbers rather than guessing. "Not as described" returns often start with a guessed measurement.
Slots 5–7: detail, contents, trust
- Detail: get close and keep it honest. Clean up dust, but don't retouch brushed steel into something that looks like plastic.
- In the box: lay out exactly what ships, matching the title and bullets. An extra brush in the photo that isn't in the box is a one-star review waiting to happen.
- Trust: warranty terms, care instructions, and certifications you can actually document. For how to show marks correctly, see our note on CE, FCC and UKCA marks.
A quick mobile check
- Open the listing on your phone and look only at the first screen: is it obvious what this is within three seconds?
- Swipe to image four: do you now know how big it is?
- Read the smallest text on each image at real phone size. On a 2000px canvas, body text much below about 40px tends to become unreadable.
Reordering without reshooting
One outdoor bottle listing we worked on ran: main, lifestyle, lifestyle, benefit collage, size, contents, brand story. Nothing in the first three images explained why to choose it. We moved a leak-proof proof shot to slot 2, pulled the size image up to slot 4 and merged the two lifestyle shots. No new photography. Whether a change like that helps is a question for data, not taste, which is why we'd run it through Manage Your Experiments before calling it a win.
Filling the gaps with AI
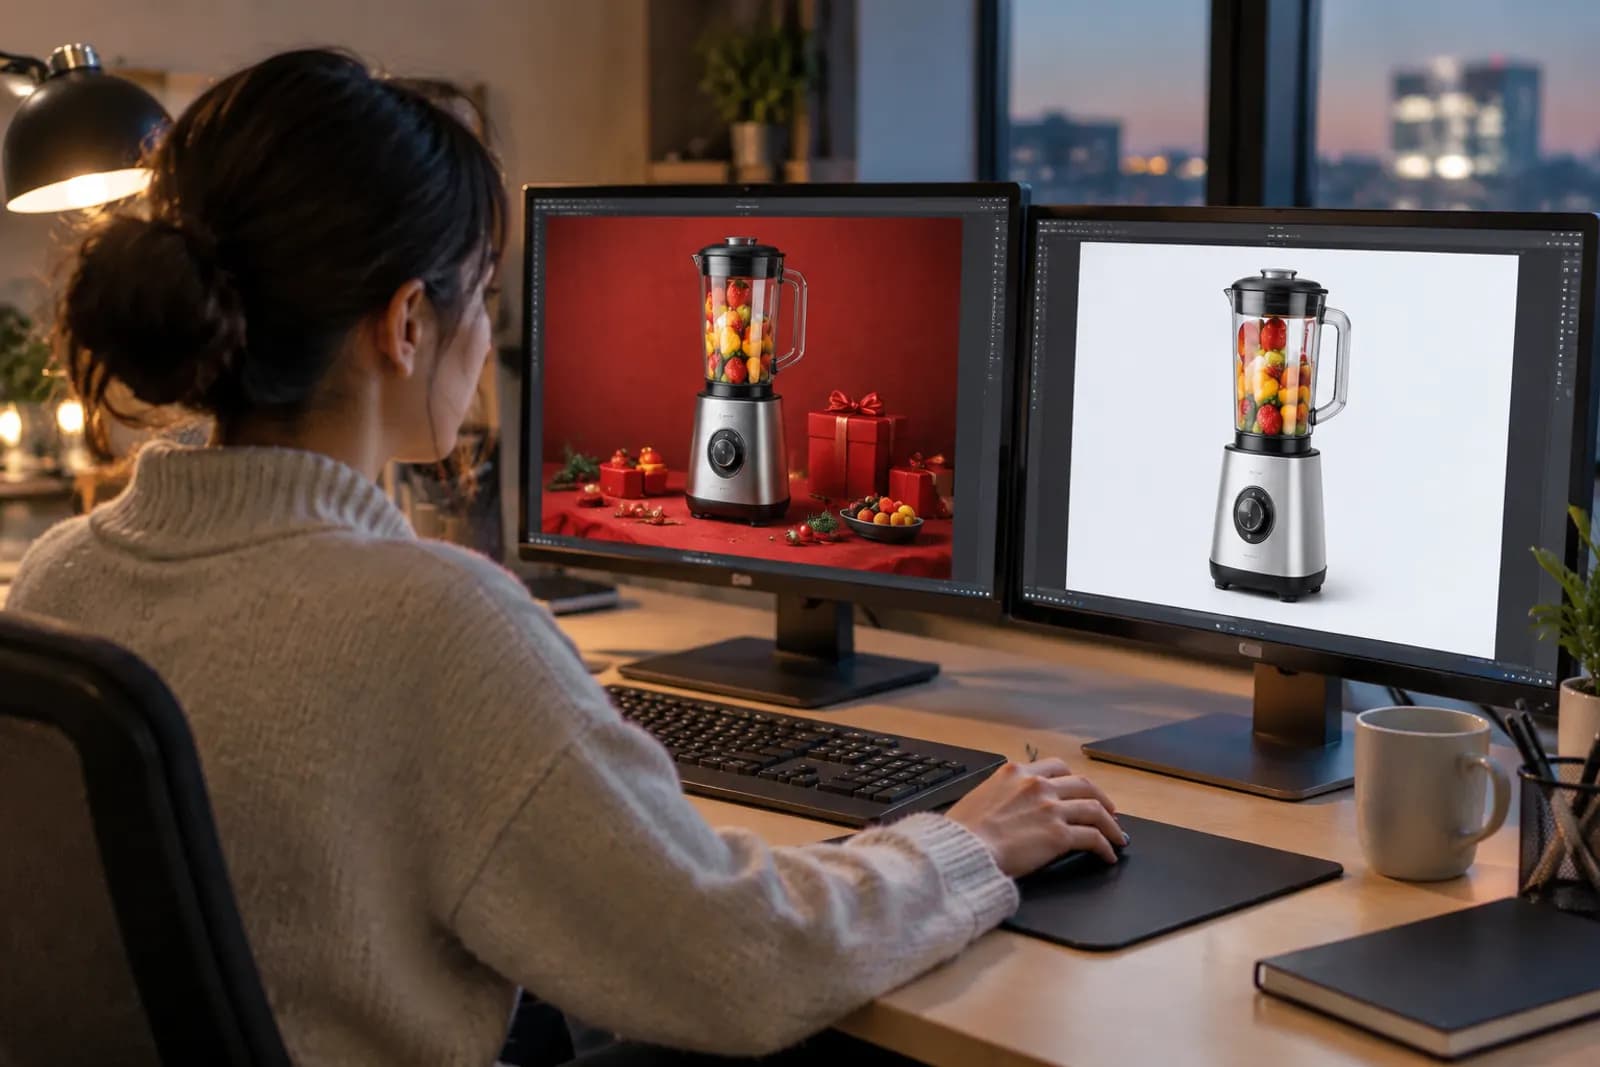
The images most sellers are missing are rarely the main shot — they're slots 3, 4 and 6, which need styling, layout or a fresh flat lay. Choose the Amazon preset in Product image sets and the plan follows the structure above. Supply real specs; numbers you don't provide never get written into an image. Then check each result against the table before you upload.
Upload one product photo and get a full set of listing-ready visuals in minutes.