An AI product image workflow for a three-person team launching 20 products a week
Small teams rarely struggle with the tools themselves. They struggle with process: who shoots, who generates, who reviews, where files live. Here's a division of labour, weekly rhythm and checkpoints for a three-person team launching about 20 products a week.

Many small teams have the same first experience with AI image generation. Week one is exciting — hundreds of images. Week two, styles are all over the place, some product colours are wrong, some scenes look fake, and nobody knows which are usable. Week three, they're back to a designer making images one at a time.
The problem is usually process, not tools. AI makes a single image cheap, but a usable set of images still needs roles, standards and checks. Our example is a three-person team — one operations lead, one designer, one part-time photographer who also runs the warehouse — launching about 20 small home products a week.
Roles
| Role | Responsible for | Rough weekly time |
|---|---|---|
| Operations | Benefits and specs, platform choice, final review and listing | 1 day |
| Designer | Generating and adjusting, style templates, retouching | 2–3 days |
| Photographer | Real sample photos, white-background inputs, details | 1 day |
The key: operations supplies benefits and specs, so the designer never guesses; the photographer supplies real photos, so AI never invents the product.
The weekly rhythm
Monday: the list and the benefits
Operations lists the week's 20 products with, for each: core benefits (three at most), measured specs, target platforms, and whether a holiday or campaign version is needed. Everything else follows from this list.
Tuesday: one shoot
The photographer shoots every product to one standard:
- At least one sharp front or 45° shot on white or light grey per product, as the AI input;
- One or two real detail shots (material, construction);
- A flat lay for products with accessories;
- Fixed camera position and lighting to minimise later fixes.
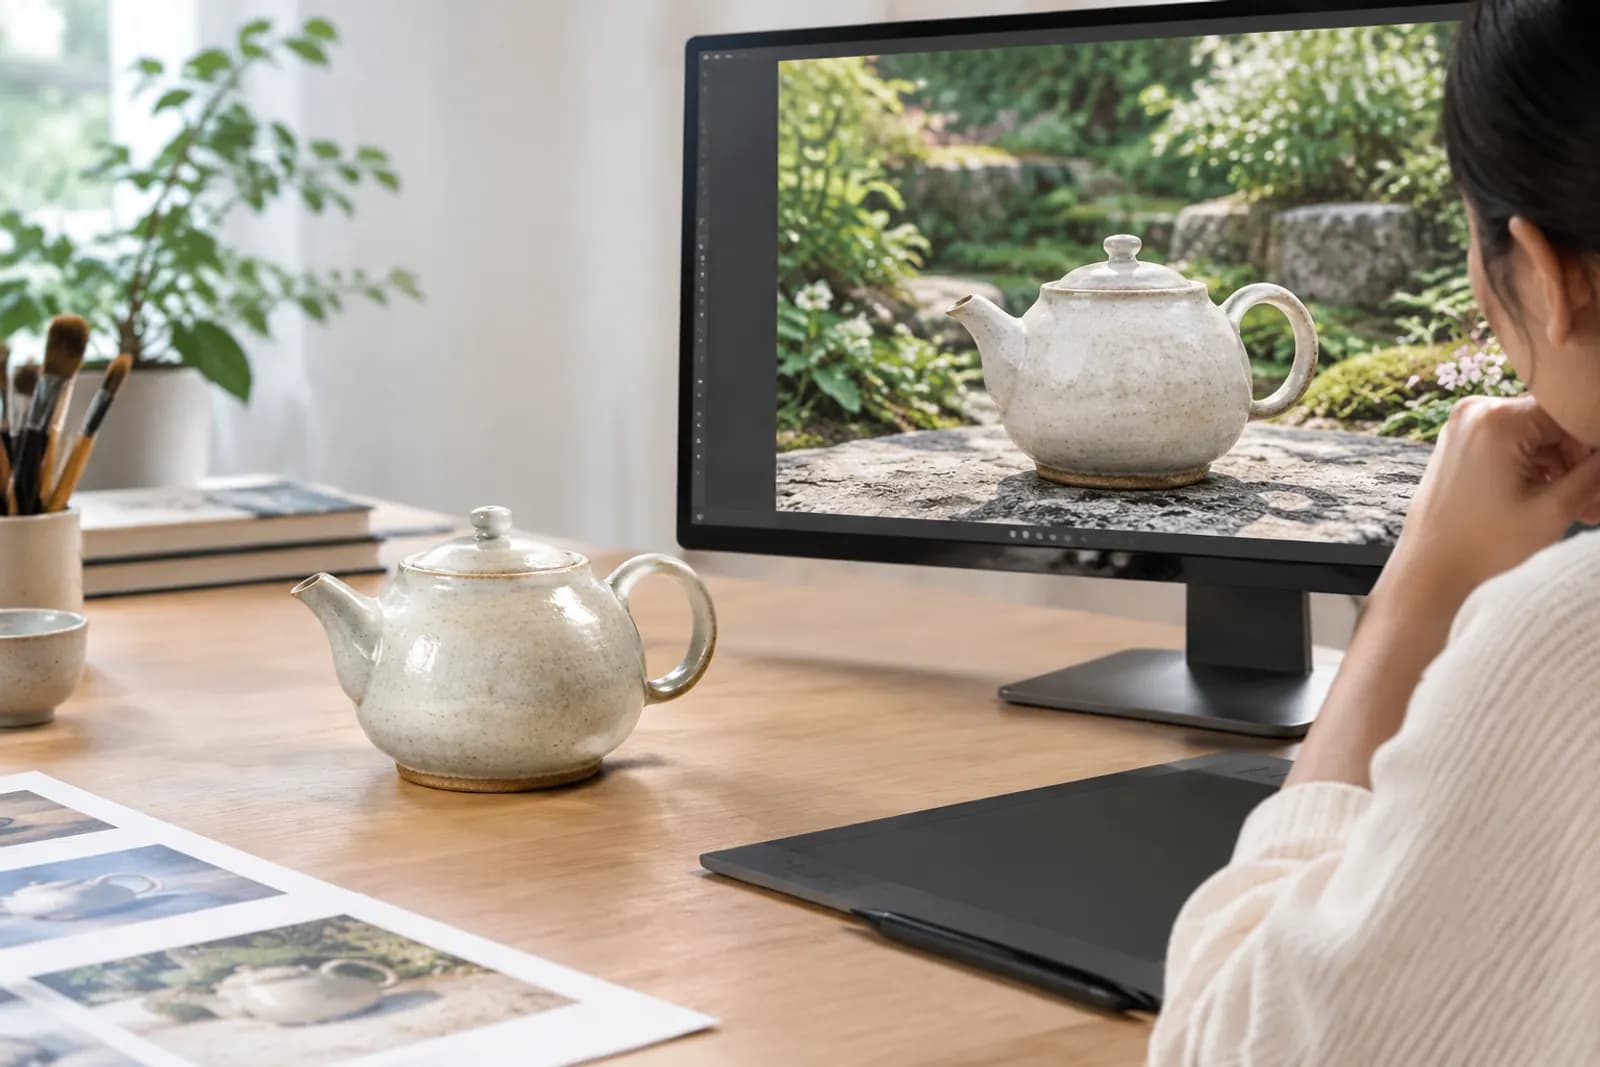
Real photos are the foundation. The cleaner the input, the more faithfully AI reproduces the product.
Wednesday and Thursday: generate and adjust
The designer works in this order:
- White backgrounds — batch real photos through AI cutout, exporting white and transparent versions;
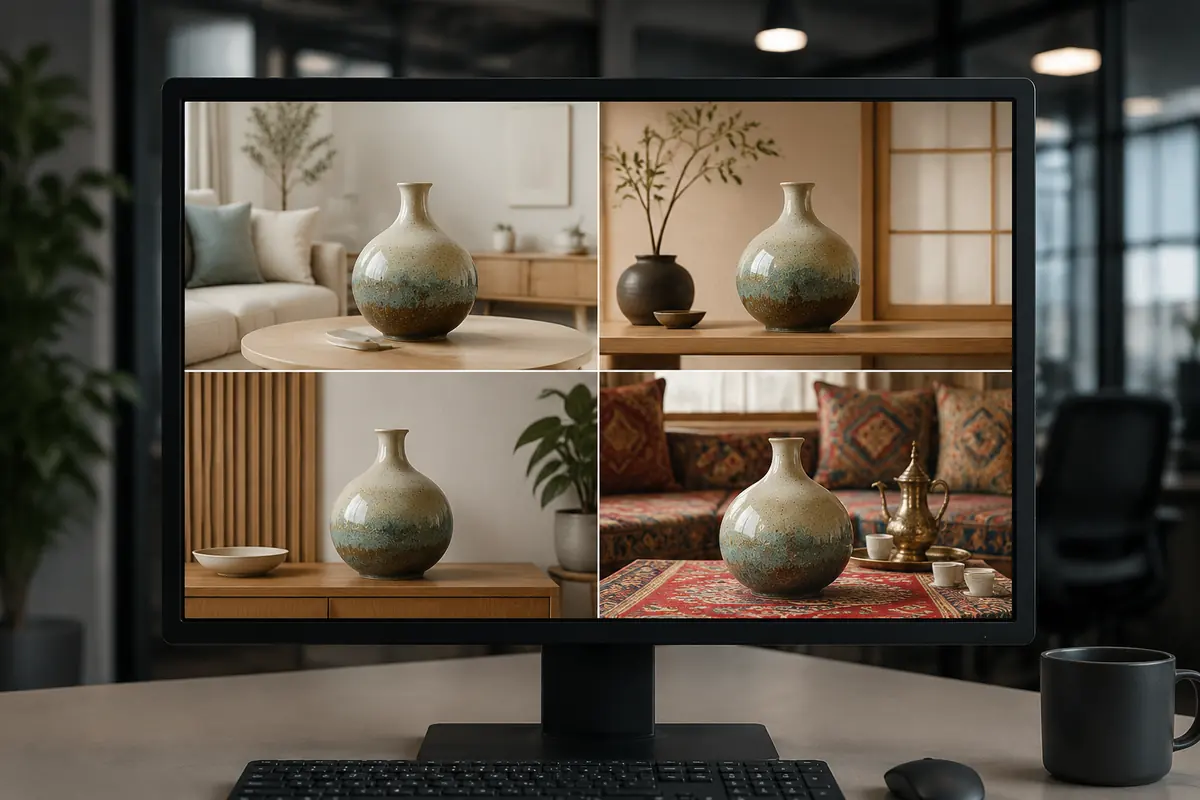
- Full sets — upload the transparent image to Product image sets, choose the platform, enter operations' benefits and specs, and generate main, benefit and scene images;
- Extra singles — anything outside the set comes from a matching template in the template library;
- Consistent style — use Style replication with the shop's reference scene so new scenes match existing images;
- Fixes — repair small problems with Inpaint or AI erase rather than regenerating whole images.
Friday: review and list
Operations reviews each product against the checkpoints below — pass, fix or redo — and lists what passes.
Review checkpoints
Every image answers five questions:
- Right product? Shape, colour, logo and accessory count match the real item?
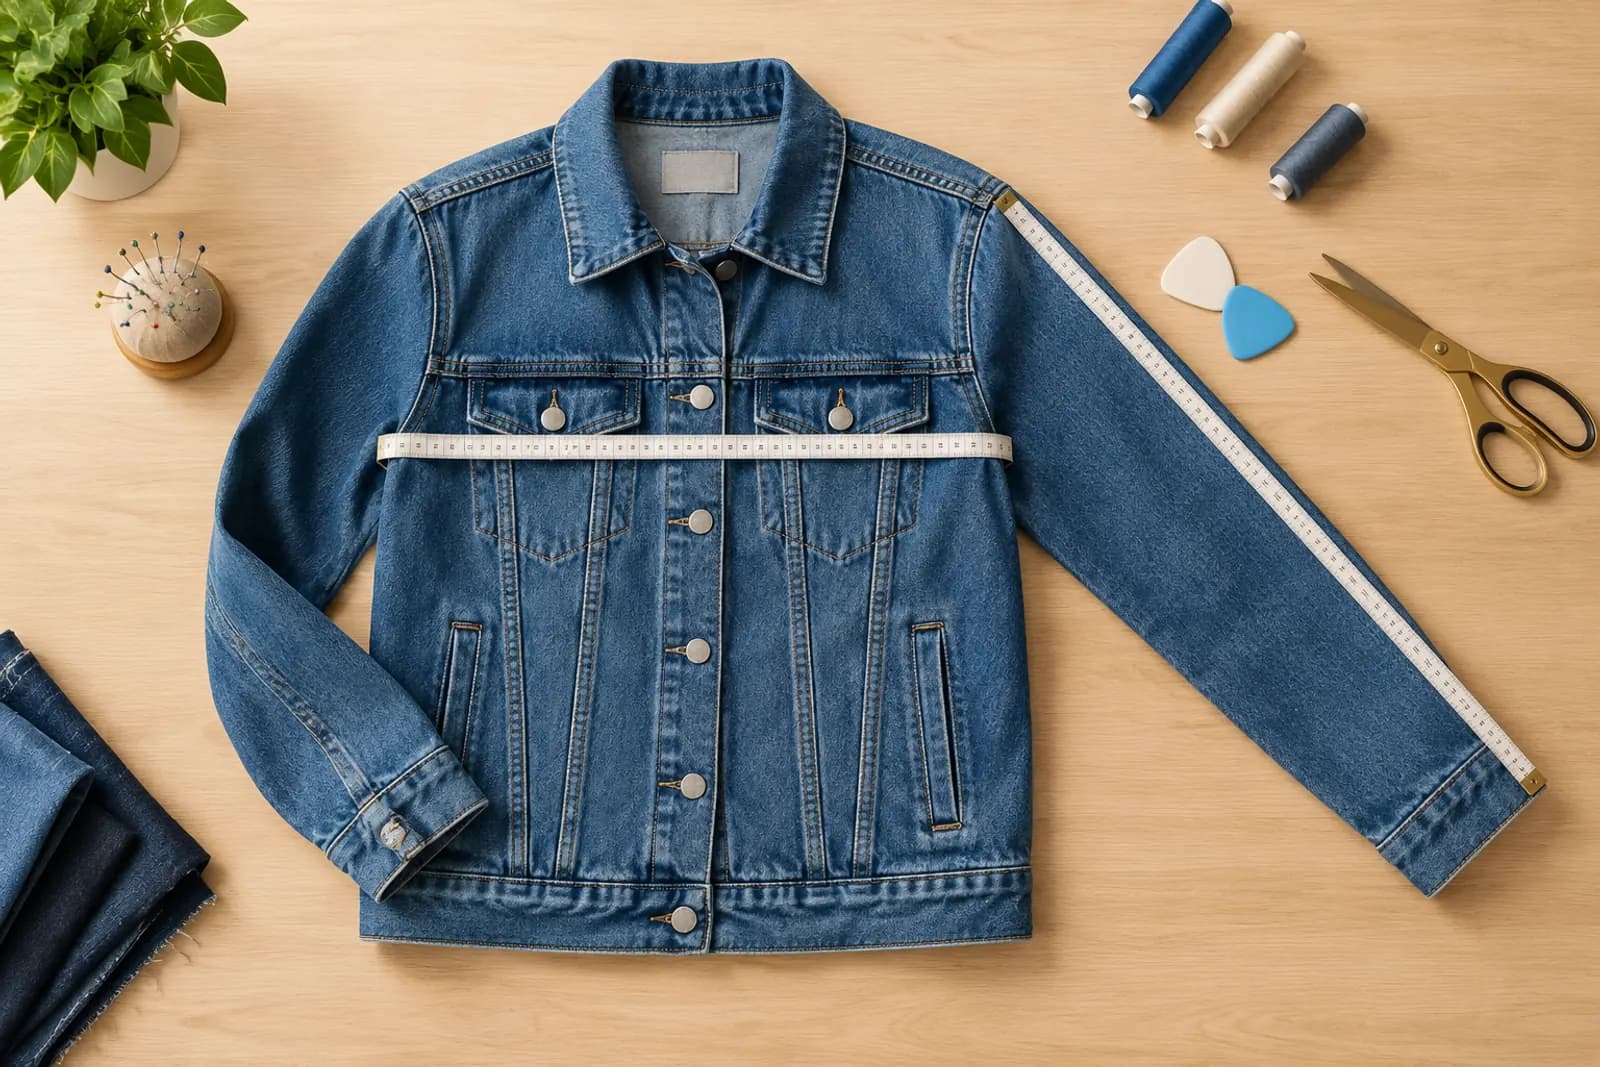
- Right numbers? Specs match the operations list?
- Right claims? No absolute terms or unprovable effects?
- Right style? Next to existing images, does it look like the same shop?
- Right platform? Ratio and white-background rules met?
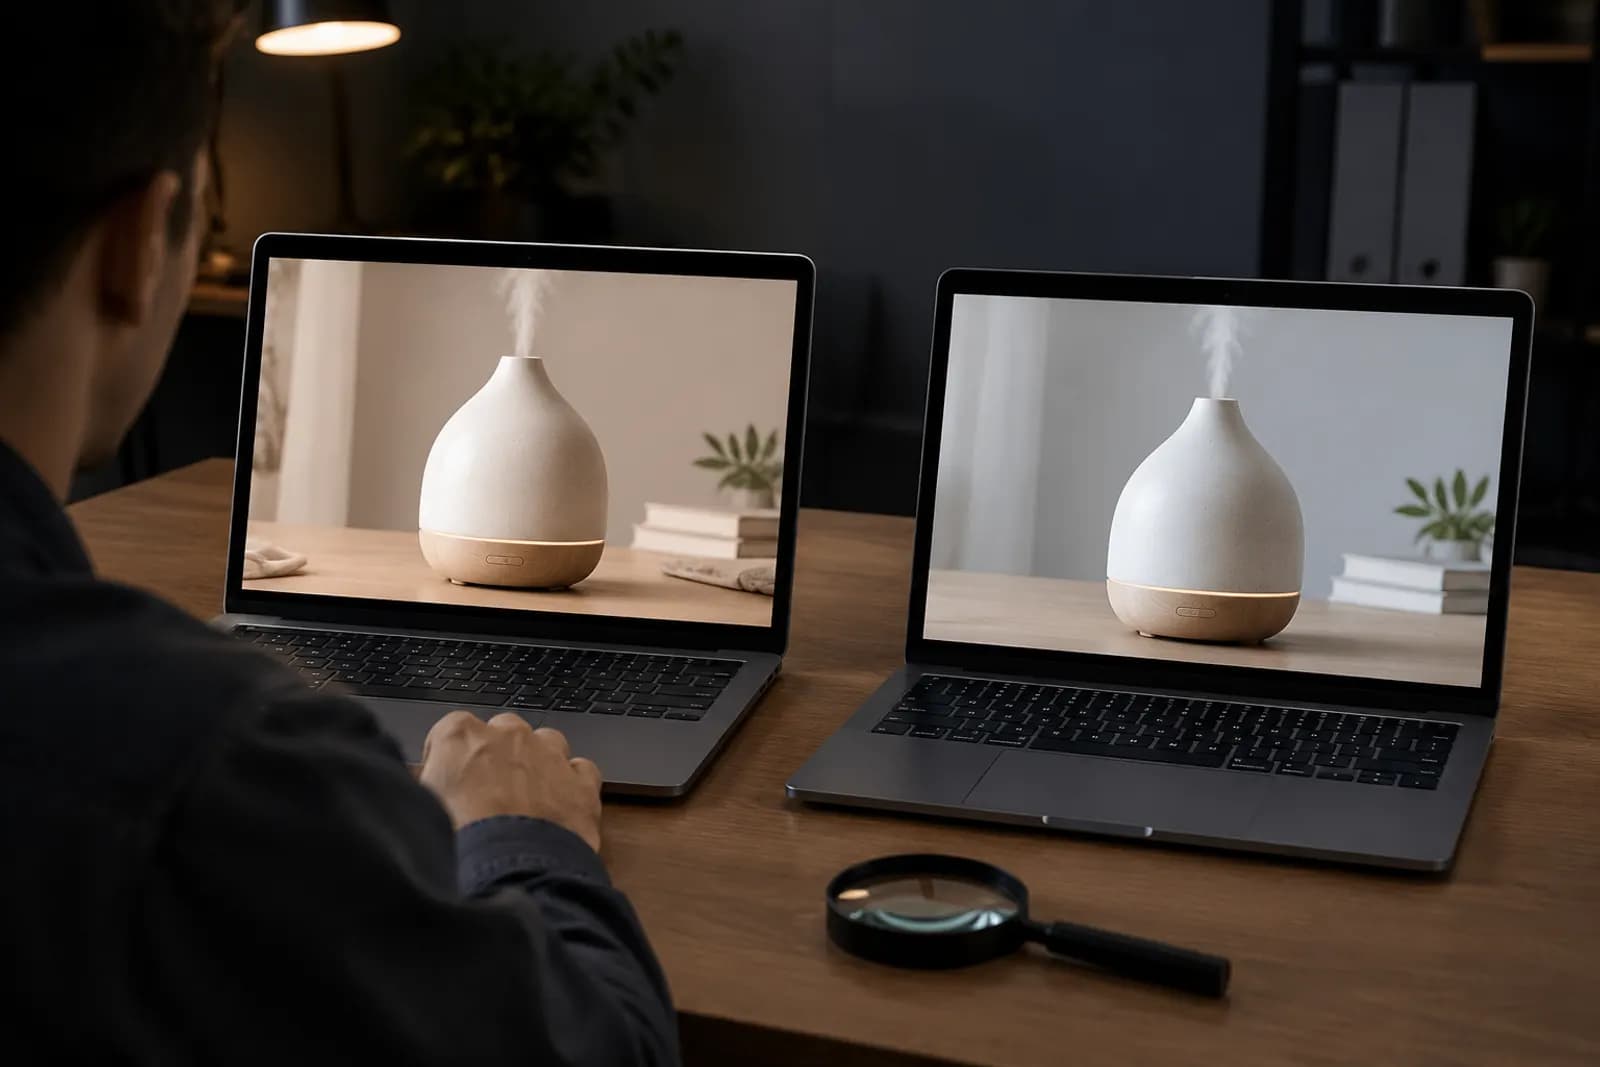
The first matters most. Generated products occasionally drift: a button moves, logo letters warp, colour shifts. Comparing generated and real photos side by side catches far more than looking at the generated image alone.
Style templates: why it gets faster
The slow part of month one is settling the shop's style — light, tone, props. Once settled, capture it:
- Save satisfying set styles as templates for reuse;
- Write a fixed style prompt segment, e.g. "soft window light from the left, pale wood surface, warm white wall, a little greenery", and use it every time;
- Choose three to five reference images for style replication.
What we've seen: in month one, products need several rounds of adjustment; once templates settle, most pass in one or two.
Managing files
Twenty products a week is 80 a month, each with a dozen images. Without rules, files sprawl:
- Folders by month and product code;
- Inside each: real originals, transparent masters, generated images, final listings;
- File names with product code, image type and version;
- A separate copy of final listings, so you can trace back when swapping images for sales.
What not to hand to AI
Even with a smooth process, some images stay real (see where AI fits in product images):
- Detail and material shots;
- Accessory flat lays and box contents;
- Labels, certifications and other compliance information;
- Food cross-sections and portions.
Review after a month
After the first month, look back: which categories generate well, which keep needing rework, which review problems come up most. Adjust photo standards and style templates accordingly. For prompt basics and lighting language, see writing prompts for product images and advanced prompts for light and materials.
Upload one product photo and get a full set of listing-ready visuals in minutes.