Dimension images that cut returns: labelling, scale references and why things feel too small
"Smaller than I expected" is one of the most common phrases in returns and bad reviews. A good dimension image removes that gap before purchase. Here's how to label sizes, choose scale references, express weight and capacity, and avoid common measuring mistakes.
Read the negative reviews in almost any category and "smaller than I expected" turns up again and again. The buyer isn't saying the product is poor — just that it isn't what they pictured. A large share of returns caused by that gap can be avoided before the order is placed.
Problems usually come from two places: no dimension image at all, so buyers guess size from lifestyle shots; or a dimension image with a few bare numbers that mean little — how big is 30 centimetres, really?
The basics
A sound dimension image should:
| Item | Requirement |
|---|---|
| Source of numbers | Measured yourself, never estimated or copied unchecked from a supplier |
| Dimensions | Length, width, height (or diameter and height), as the shape demands |
| Units | One unit system; centimetres on Chinese platforms |
| Lines | Clear arrows or end points showing where each measurement starts and ends |
| Background | Simple, with lines and numbers readable |
| Type size | Legible on a phone |
Say what was measured. Does a mug's width include the handle? Does a bag's height include the straps? Mark it.
Scale references make numbers real
"25 cm tall" is just a number to most people. Put something familiar beside the product and size becomes obvious:
- A hand — for small items like phone accessories, cosmetics, stationery;
- A sheet of A4 — for bags, document storage, desk accessories;
- A water bottle — for cups, bottles, small appliances;
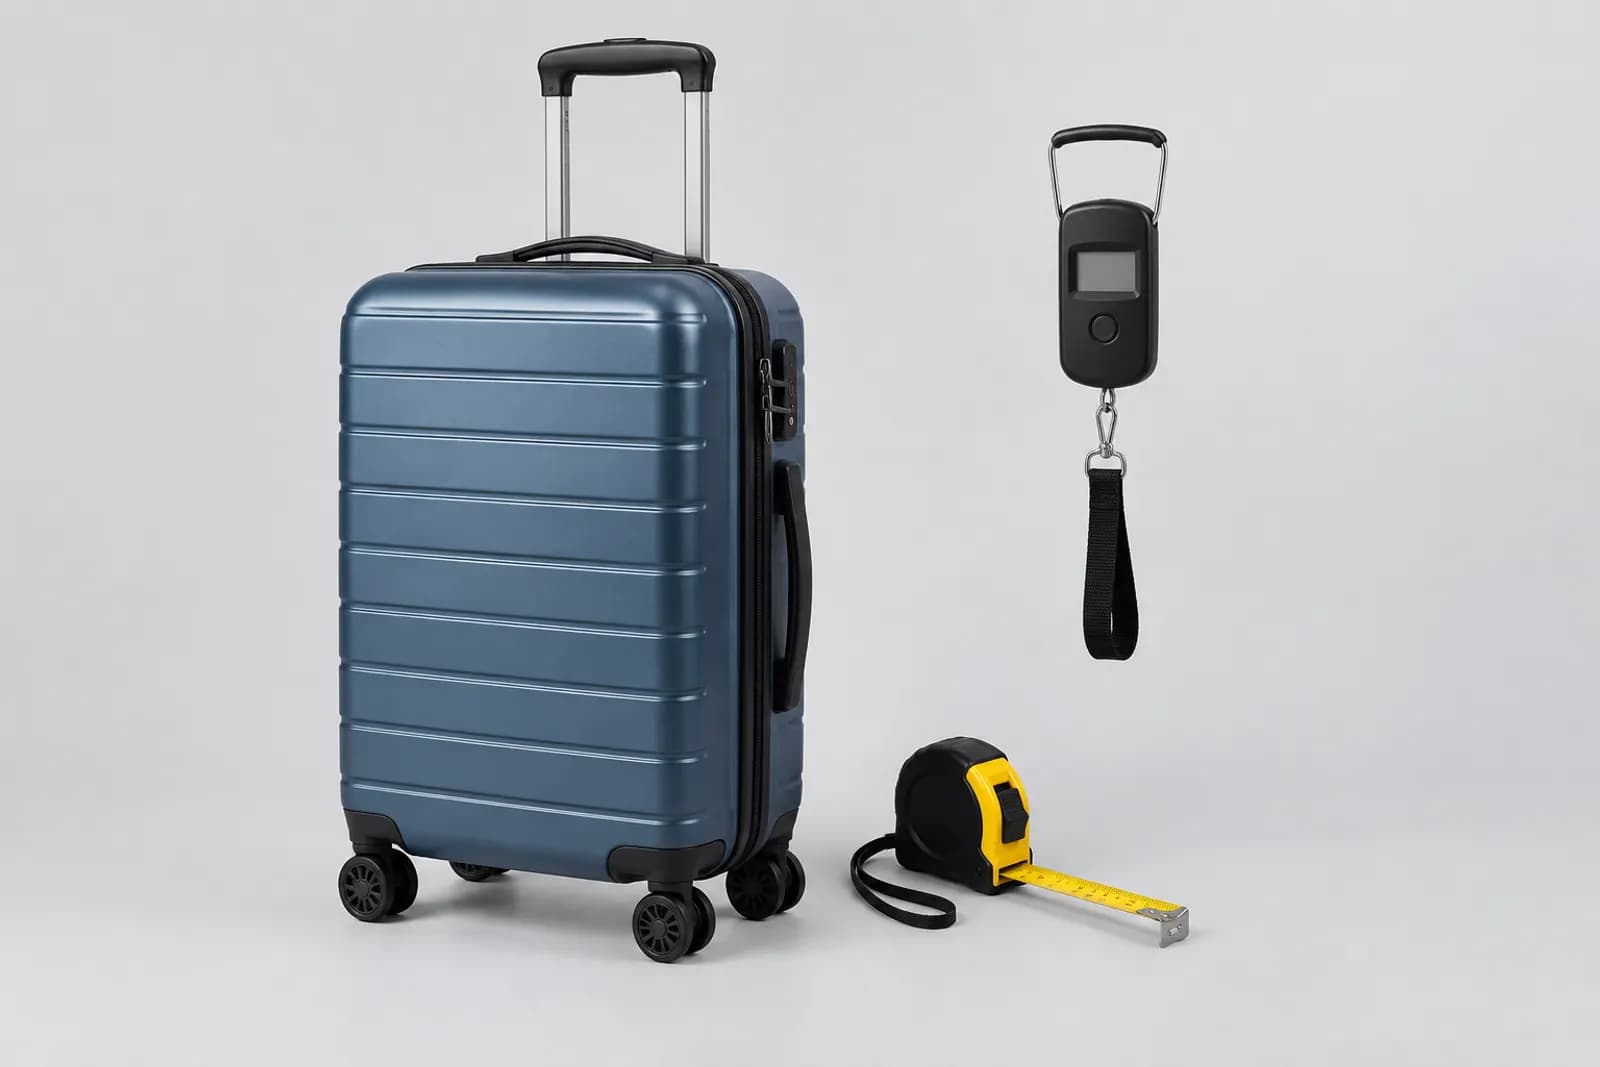
- A person — for furniture, luggage, clothing;
- Familiar furniture — a storage cabinet next to a sofa, a lamp on a desk.
Use standard-sized references: an ordinary 550ml bottle, real A4 paper. An oversized or undersized reference misleads.
Inner and outer dimensions
For storage, bags and containers, buyers care about what fits inside as much as outer size:
- Outer dimensions decide whether it fits — will the box go in the cupboard?
- Inner dimensions decide what it holds — how many clothes, what size items.
Outer only, and buyers return it because their things don't fit. Inner only, and they return it because it doesn't fit the cupboard. Show both.
Making weight and capacity tangible
- Weight — "about 1.2 kg" can add "roughly a 1.5-litre bottle of water", or show it lifted with one hand;
- Capacity — "20 litres" can add "a week of clothes" or "X magazines" (verified in practice);
- Luggage — if you mention common cabin size limits, note that each airline's rules apply.
Common measuring mistakes
- Copying supplier figures — they may be packaging sizes or an old model; measure yourself;
- Ignoring tolerance — hand measurements vary; note "measured by hand, allow 1–2 cm";
- Soft goods — plush toys, cushions and clothing change with how they're laid; measure flat in a consistent way and say so;
- Extending or folding products — give both states;
- Mixing up package and product size — if you show package dimensions (useful for large items), label them clearly as such.
A storage box example
One stackable storage box launched with a size image reading "30 × 20 × 15 cm". Returns followed: it didn't fit in cupboards, and A4 files didn't fit inside. Two problems turned up. The 30 cm included the side handles — the body was 27 cm — and the inside was about 2 cm shallower than the outside. The revised image showed outer size with handles, body size and inner size, with a sheet of A4 for reference and the stacked height noted. Size-related returns dropped noticeably.
Products with several sizes
- Show sizes side by side with the same reference so the difference is obvious;
- Label each with its dimensions, using the same names as the SKUs;
- Distinguish them clearly by colour or marker.
Where it goes
Size is decision-critical. Put the dimension image third or fourth in the main image set, not only at the bottom of the detail page. Many buyers decide from main images alone; buried size information might as well not exist.
The detail page can carry a fuller version: every measurement, method and tolerance.
Checklist
- Every number measured;
- Start and end points marked;
- One unit system;
- A standard-sized reference;
- Inner and outer sizes where relevant;
- Both states for extending or folding products;
- Variants easy to compare;
- Numbers readable on a phone.
Working faster
The "dimensions" plan in Product image sets creates the layout, but numbers only appear when you enter them; without values it draws lines only and never invents figures. Apparel sizing needs a different approach — see apparel size chart images.
Upload one product photo and get a full set of listing-ready visuals in minutes.
Keep reading